
Part 4 of steering column
You wanna see a nice blog? Check this one out. This particular post is the author rebuilding the steering column on a 1969 Mustang. If you want to know how to put these things back together, check it out. I’ll be putting parts together and taking them apart and this guys blog can help you follow what I’m doing.
maybe,
I have a plan for attaching the Mustang steering shaft to the Rogue but I need to know how long to build it. A smart man would have taken measurements of these things before he disassembled the steering column. I am not that smart man. I have to improvise something to get that measurement.
I have to assemble the column pretty much all of the way, take one measurement and then break it all back down again, The problem is that it isn’t the same thing anymore so we’ll start with the old way and then improvise.
I have to mount the upper and lower column collars to get the full build length to get to know how much of the steering shaft has to stick out of the collars to mount the steering wheel and all of the other components to make the car operable.
First off. In stock form, the inner column tube is the mount for the lower column collar. The upper collar fastens to the lower and from there we can mount the steering wheel.


Yeah, you’ve seen this one before. I’m recycling.
Since there is no room in the center of the steering column for the inner column tube, I need an inner column lite.

This is all of the inner column tube I need, actually even less than this. I have to make an adapter to convert the upper column shaft to take the place of the inner column tube.
It started with cutting the top end of the inner column tube off and welding it to a hole saw plug. I made a jig to keep this cap aligned with the piece of tubing I have that slides over the Rogue upper column.


All of that just so I can do this…

and then this
and this

this

to this

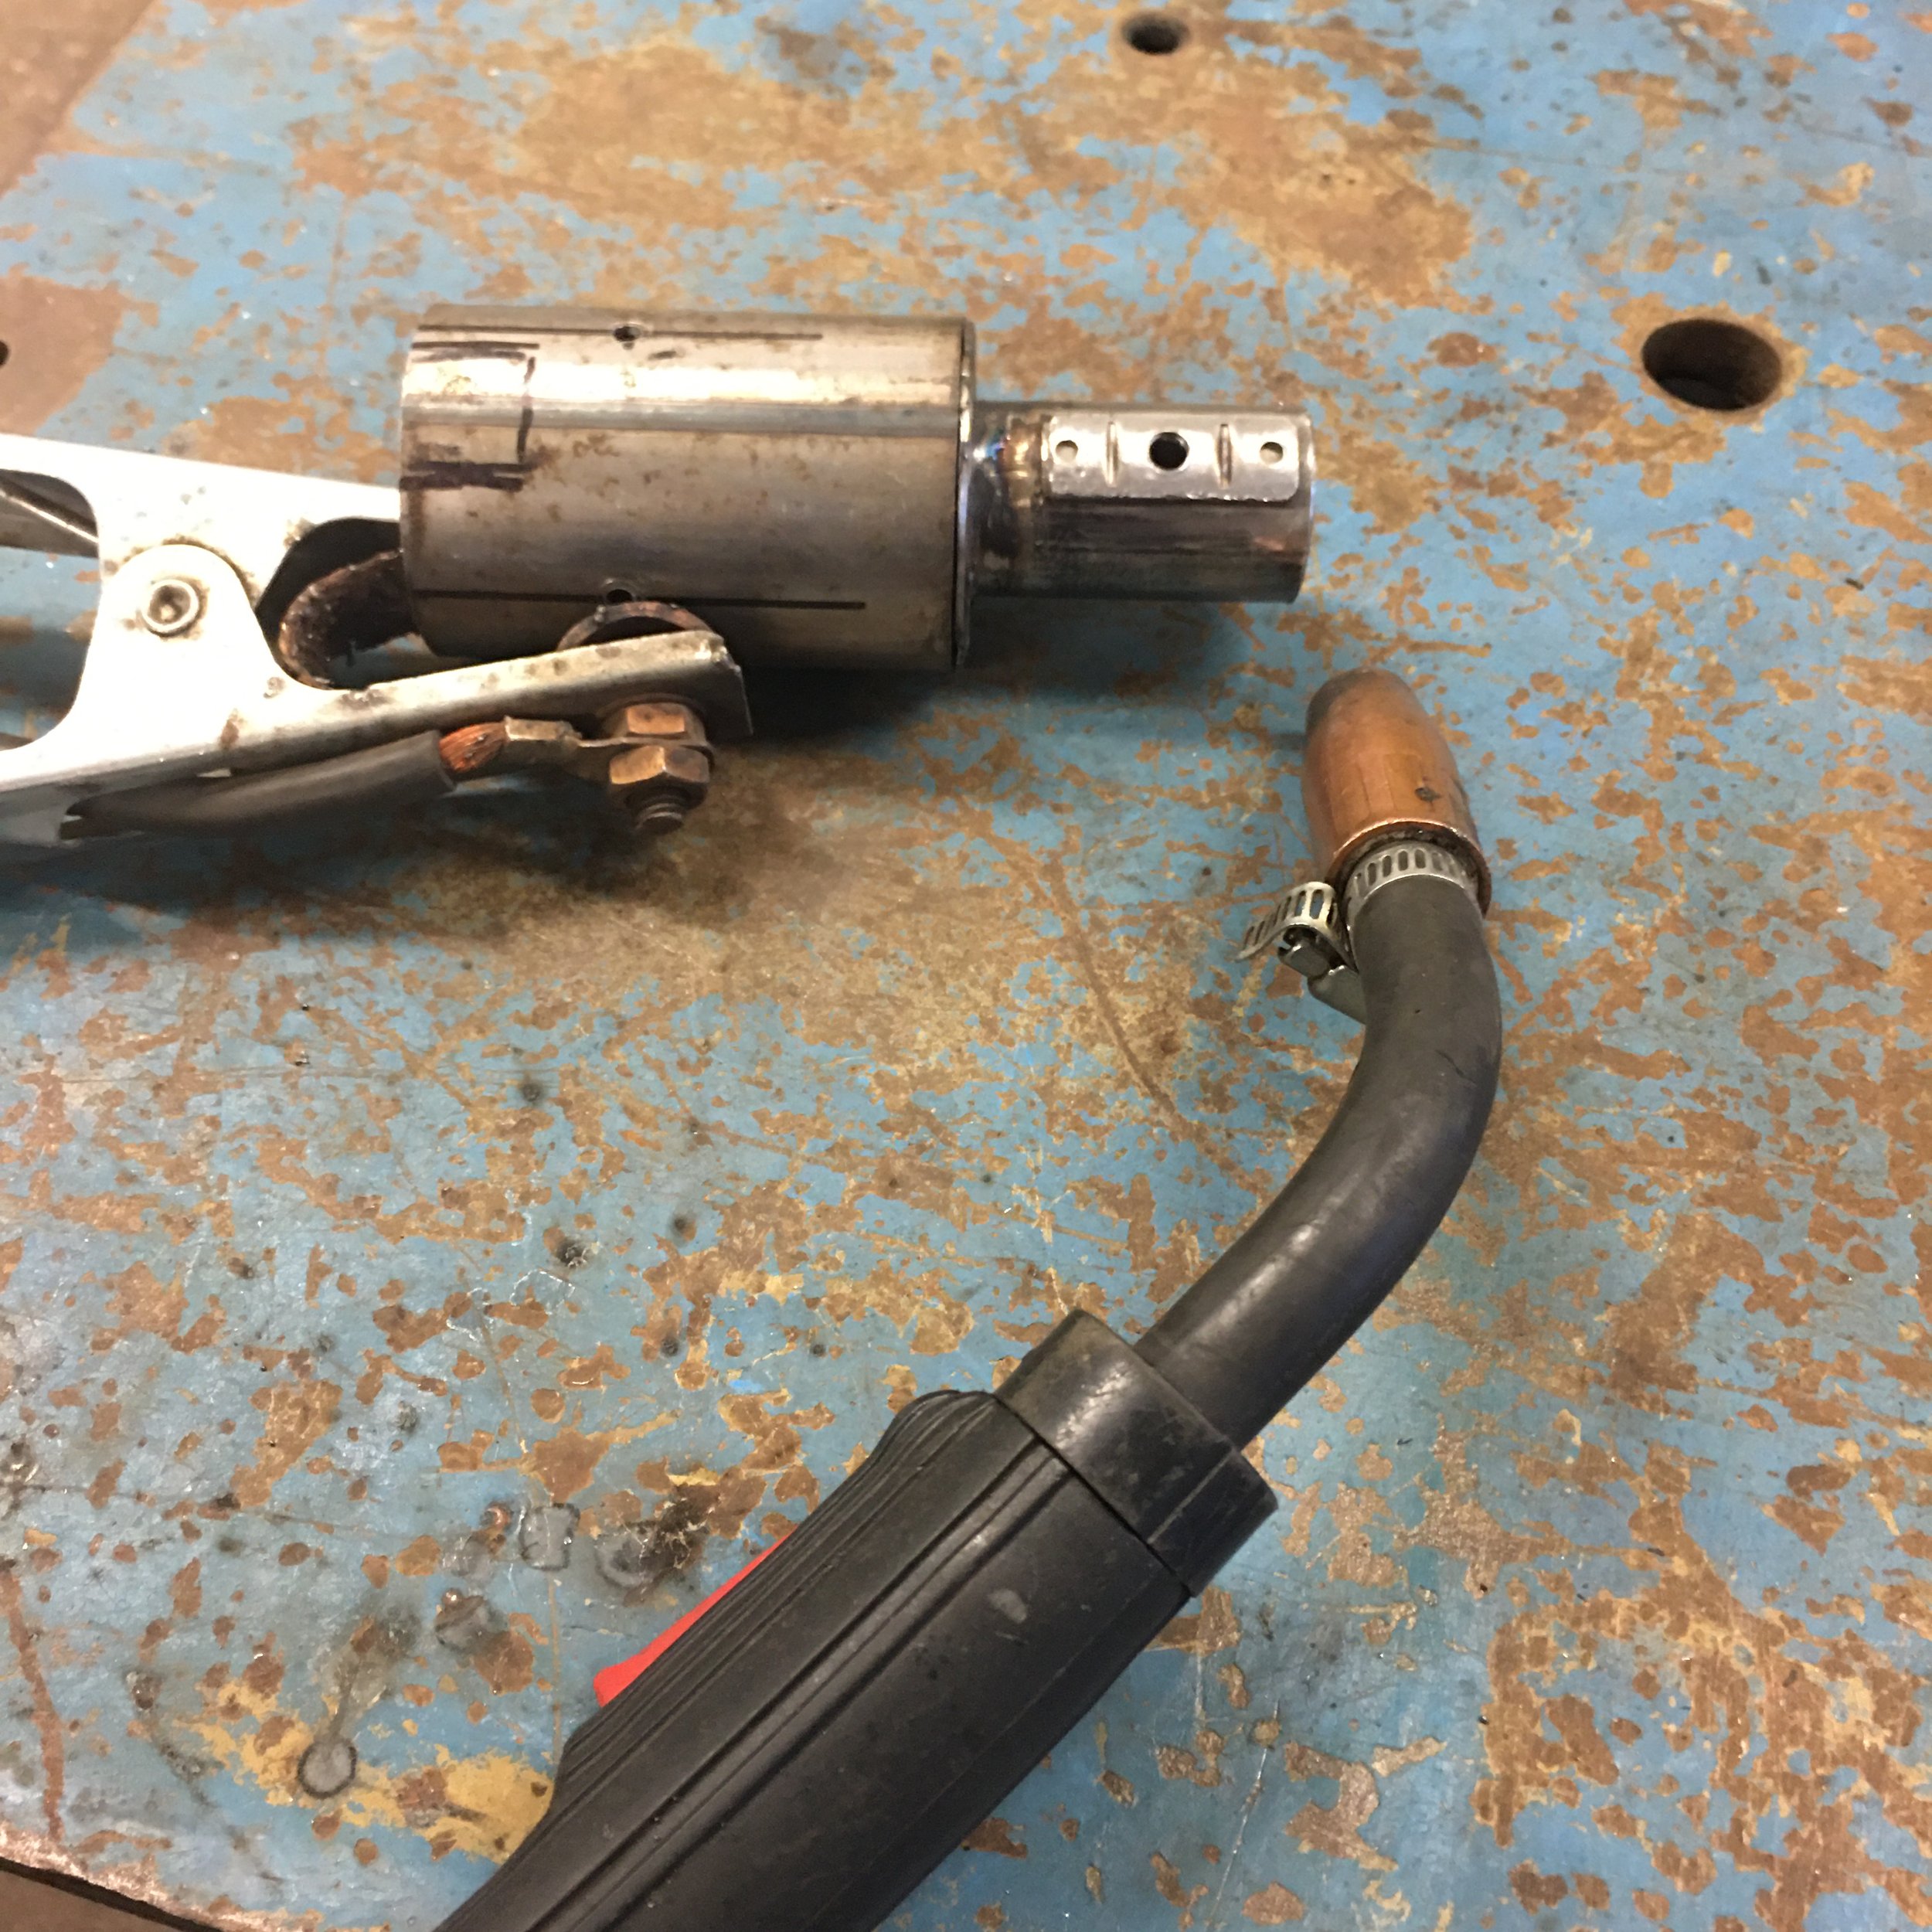
The stubby shaft you see poking out of the top of the collar here is wrong. I somehow measured it too short. To this day I still can’t figure out what I did but I had one more steering shaft to work with.
The other one was cut over an inch longer and then the end that was cut was turned down in the lather to get it to 14mm. When that was finished, the turned down end was threaded with a die.


The new stubby shaft was screwed into the threaded Rogue steering shaft and checked for straightness. It took a few taps with a hammer on the anvil to take the slight bend out of the joint.


(These are pics of the first, too short, shaft but they work to show the process.)
Once I was satisfied that I had the length sorted out, the hybrid column was taken apart and the steering shaft was drilled for a plug weld and then welded making the two parts permanent.

No Borgeson coupler required.
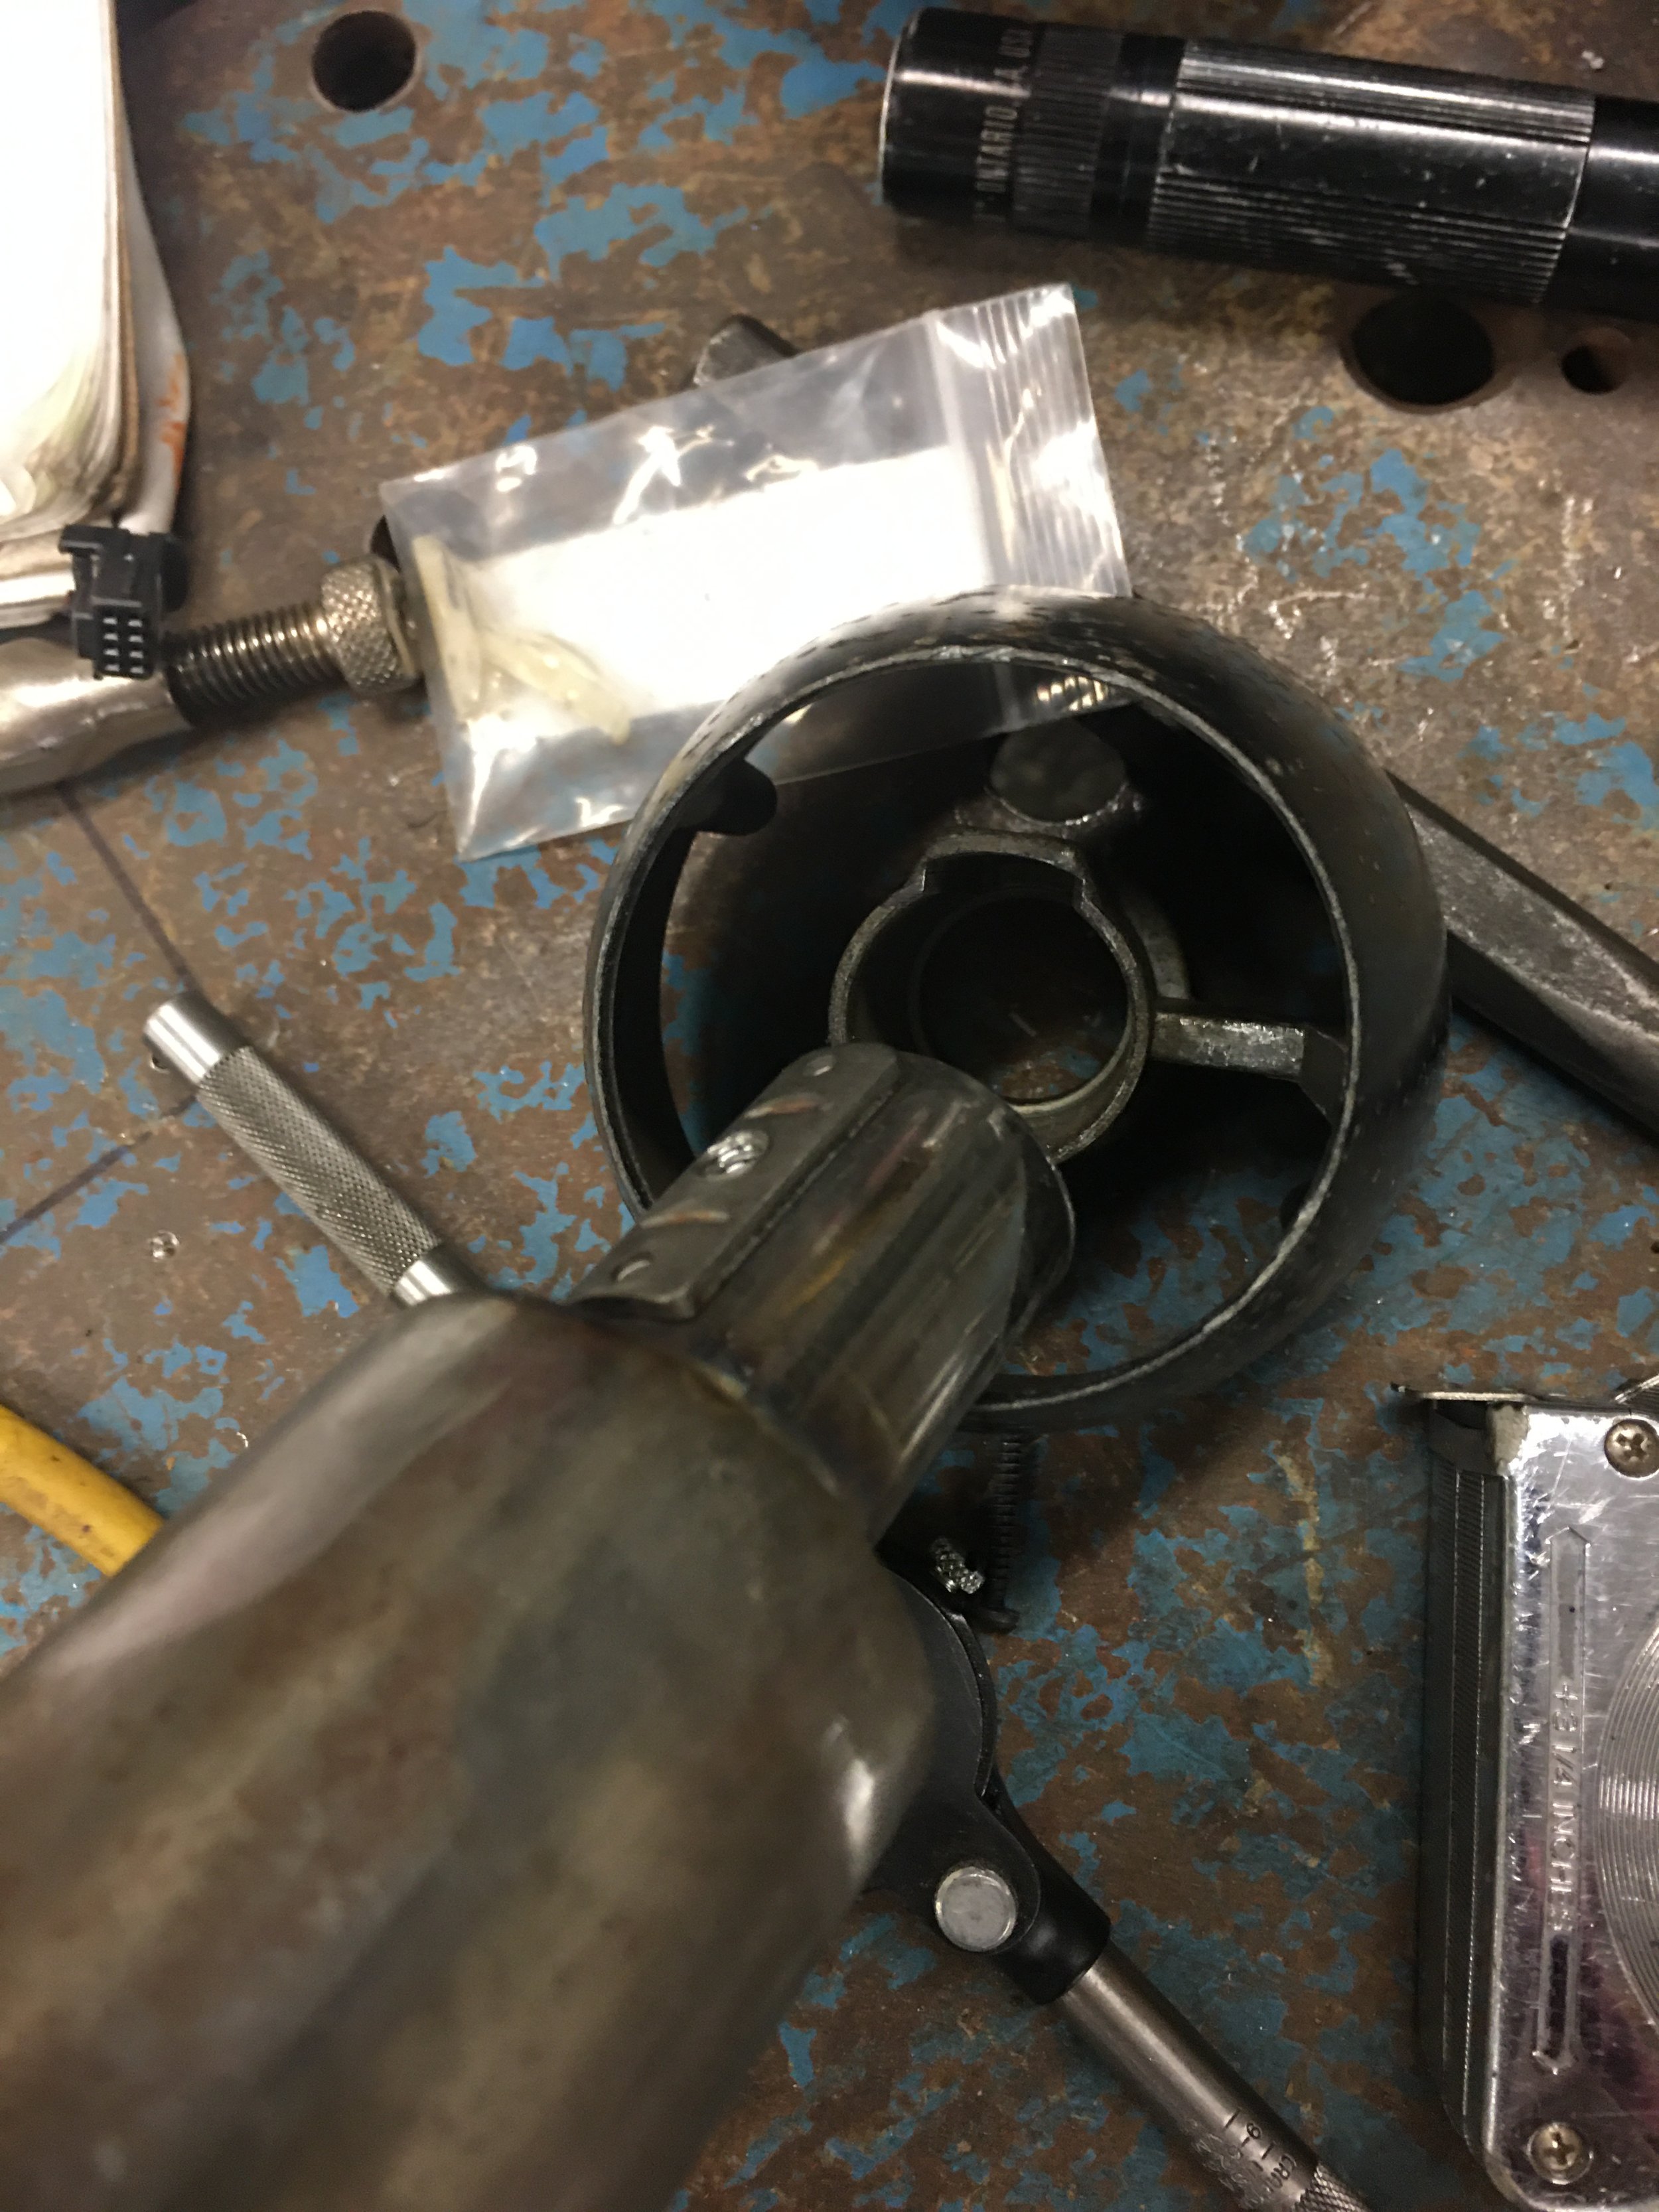
When the steering column upper was finally put together with the lower section, The Mustangs outer column tube did not seat all of the way down. It turned out that the Rogue upper was too long and had to be shortened.

Before

After
Though you couldn’t tell, getting this far took weeks. Designing on the fly takes time. This was a huge step for me so I took some time to repaint for aesthetics as well as protection of raw metal parts. With the column reassembled, it was fitted into the car.


The fit was better than I had hoped. There was a little interference fit I would take care of later. The column was a little wobbly. I contemplated making a bracket to go from the back of the EPAS to the pedal bracket but then I remembered my goal of making things look stock.
I have a little more work ahead of me.