
Firewall
The slanted part of the floor actually belongs with the firewall. Who Knew?? It’s called the Firewall Extension.
The Firewall Extension was pretty rusted on the passenger side and not as bad on the driver’s but it was still rusted.
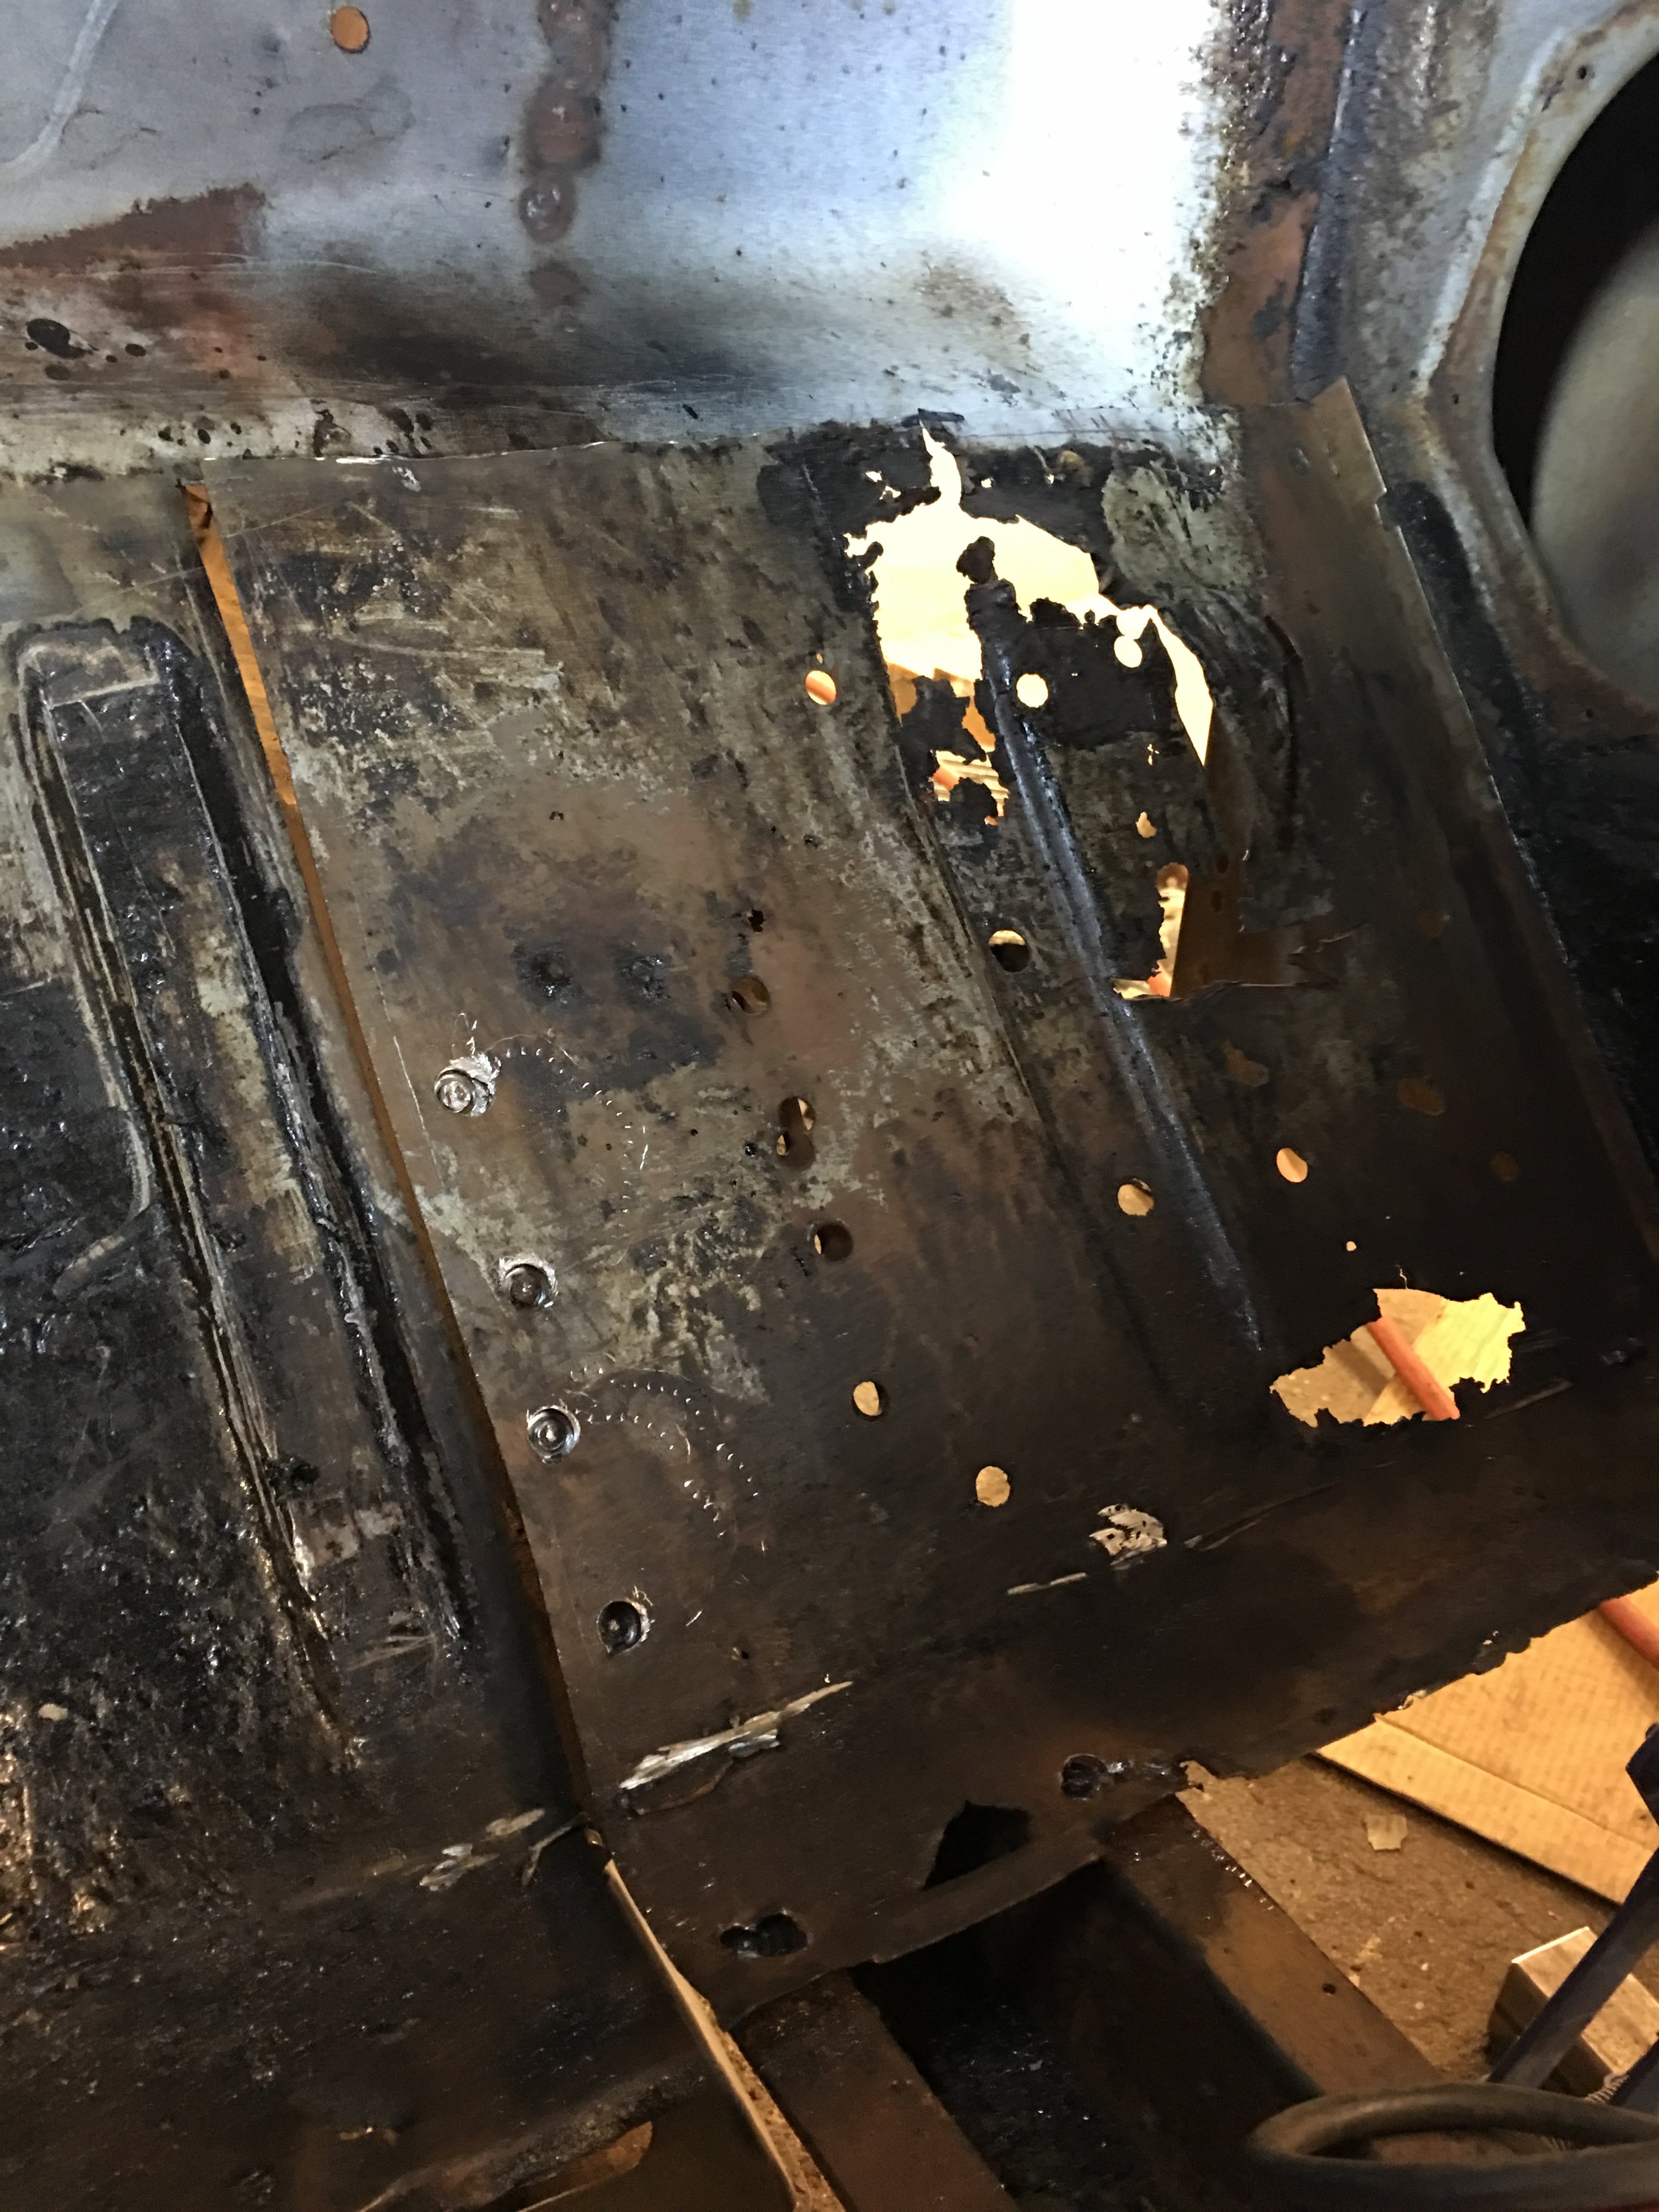

Those sections were cut away to make it easier to replace the upper torque boxes and, on the right side, make repairs to the right side frame rail and floor support. Luckily only the upper section of the drivers side torque box was corroded. I cut a section of the top out and took a look inside and it was rust free.


I made a mistake when I cut the right side torque box out. I used an air chisel to break the spot welds on the kick panel. I got the pieces separated but I dented the HELL out of the kick panel metal. If anyone were to look close, the repair is ugly. I used the welder to fill the low spots and then ground the high spots down.

Oops, no pics of my shame.
The right side torque box was replaced as was the upper part of the left one.
Now it’s time to repair the firewall extensions.
I made an attempt to use patch panels to replace the sections that were cut away. I failed miserably. well, on the one side I did try to replace anyway

. The other repair patch did not even look like it belonged in the car. Much later I found out it was one of those universal Ford-ish replacement panels. It was designed for a Mercury Cougar and someone decided that it could be used in a Mustang and it looked nothing like what was removed.

I bought a complete firewall from Dynacorn just so I could have the panels that matched. I was persuaded by my neighbor to just replace the whole firewall instead of patching things together. I’m glad I listened.
Before I started on the removal of the firewall, I decided to remove the floor pan. It was hacked together in an attempt to repair what I can only imagine was rust damage. Removing the floor would make replacing the firewall easier.
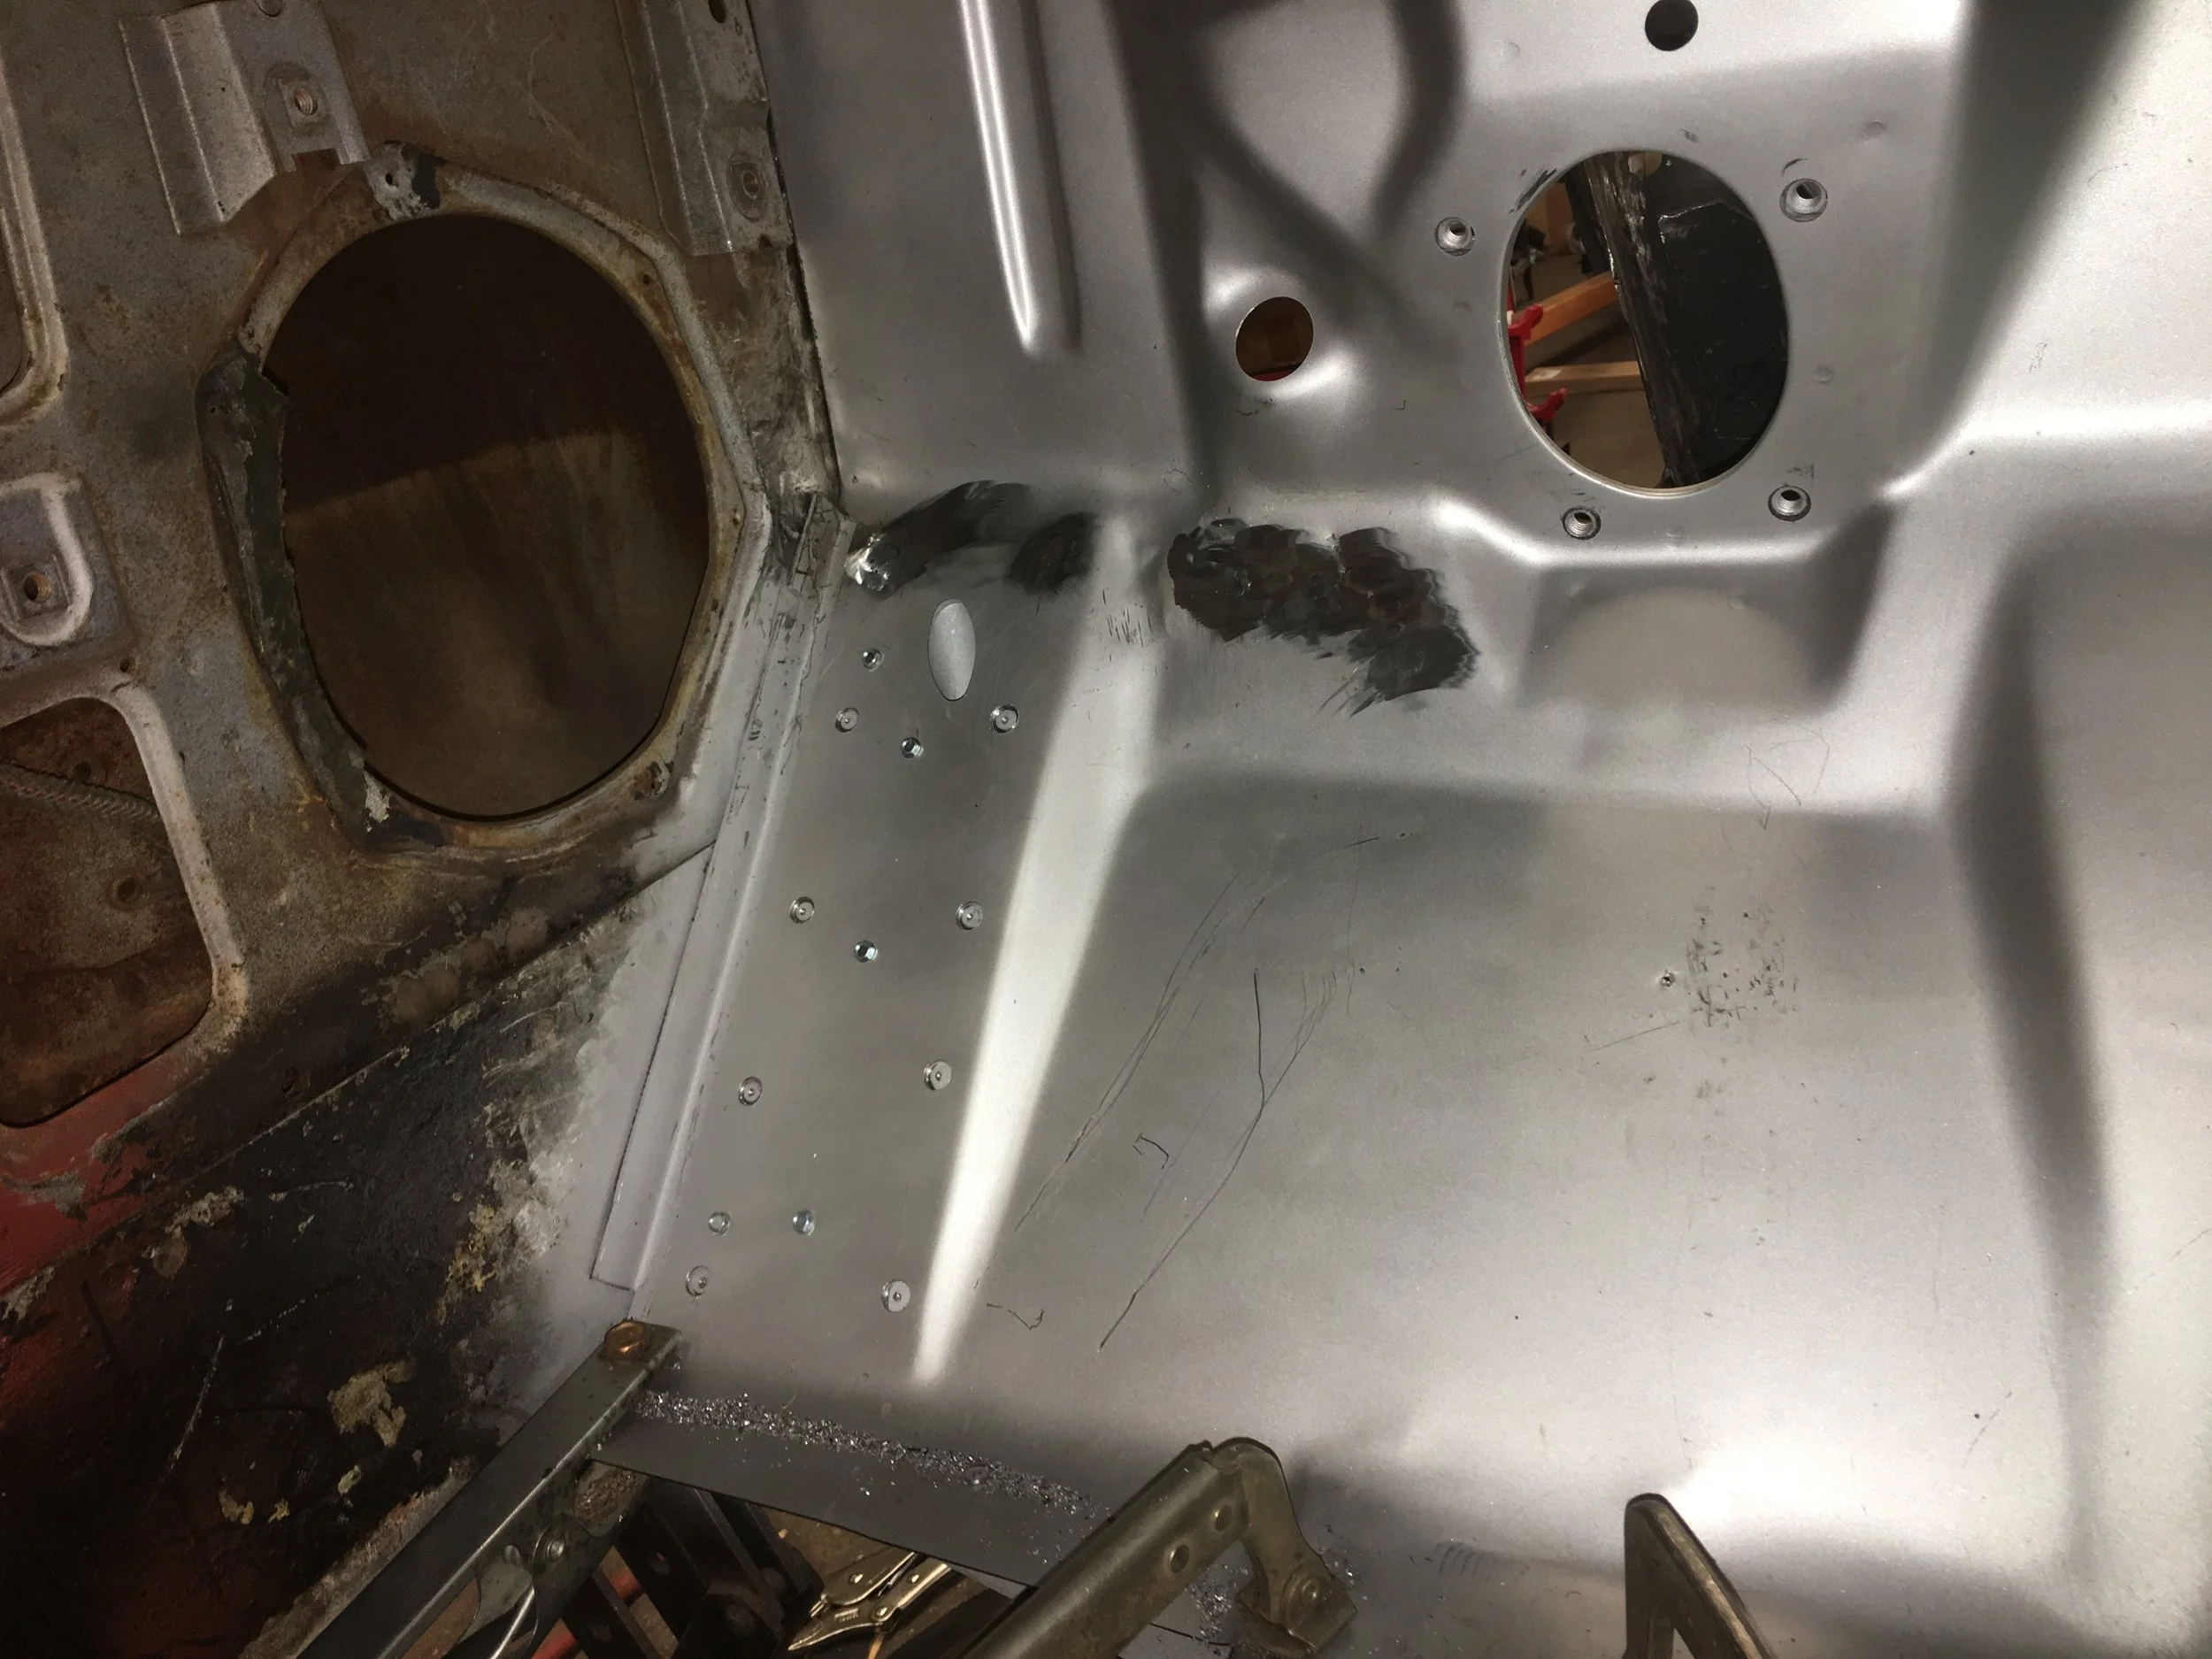
With the old firewall gone and the opening cleaned up, the new panel was test fitted. Surprisingly I was not too shocked when I found out that the firewall had been stamped wrong. The right side was 3/4” too tall.
I went back and checked all of my previous work to make sure I hadn’t installed the torque box in wrong. Everything checked out so the firewall was tested again to make sure I hadn’t messed something up when I tested it before. Nope, it’s the firewall.
I sliced the top lip off of the firewall and starting from the right side, the firewall was marked 3/4” down from the top and then drew a line all the way across the face until it terminated in the upper left corner. I would be cutting a large wedge out of the firewall.


Took a little time cleaning up and then the lip was welded back on and the firewall slid into place.
A plus side to replacing the firewall was that I discovered that I could not get the firewall back in without removing the rear engine bay Aprons. The same Aprons that I was not happy with and caused me to stop work on the car for two years.
Since I was replacing the two rear engine bay Apron, I went ahead and replaced the two front ones as well. The right front sat a little too high where it joined the shock tower. I tried to blend the two pieces together and made a mess of it. Now I had the opportunity to fix that and so I took it. The left front, like the one before, was a victim of opportunity. Physically it sat properly in its spot but it had been scratched up plus I did have an issue with the radiator support where the front of the apron attached so this, again, was the time to remedy that particular kink.
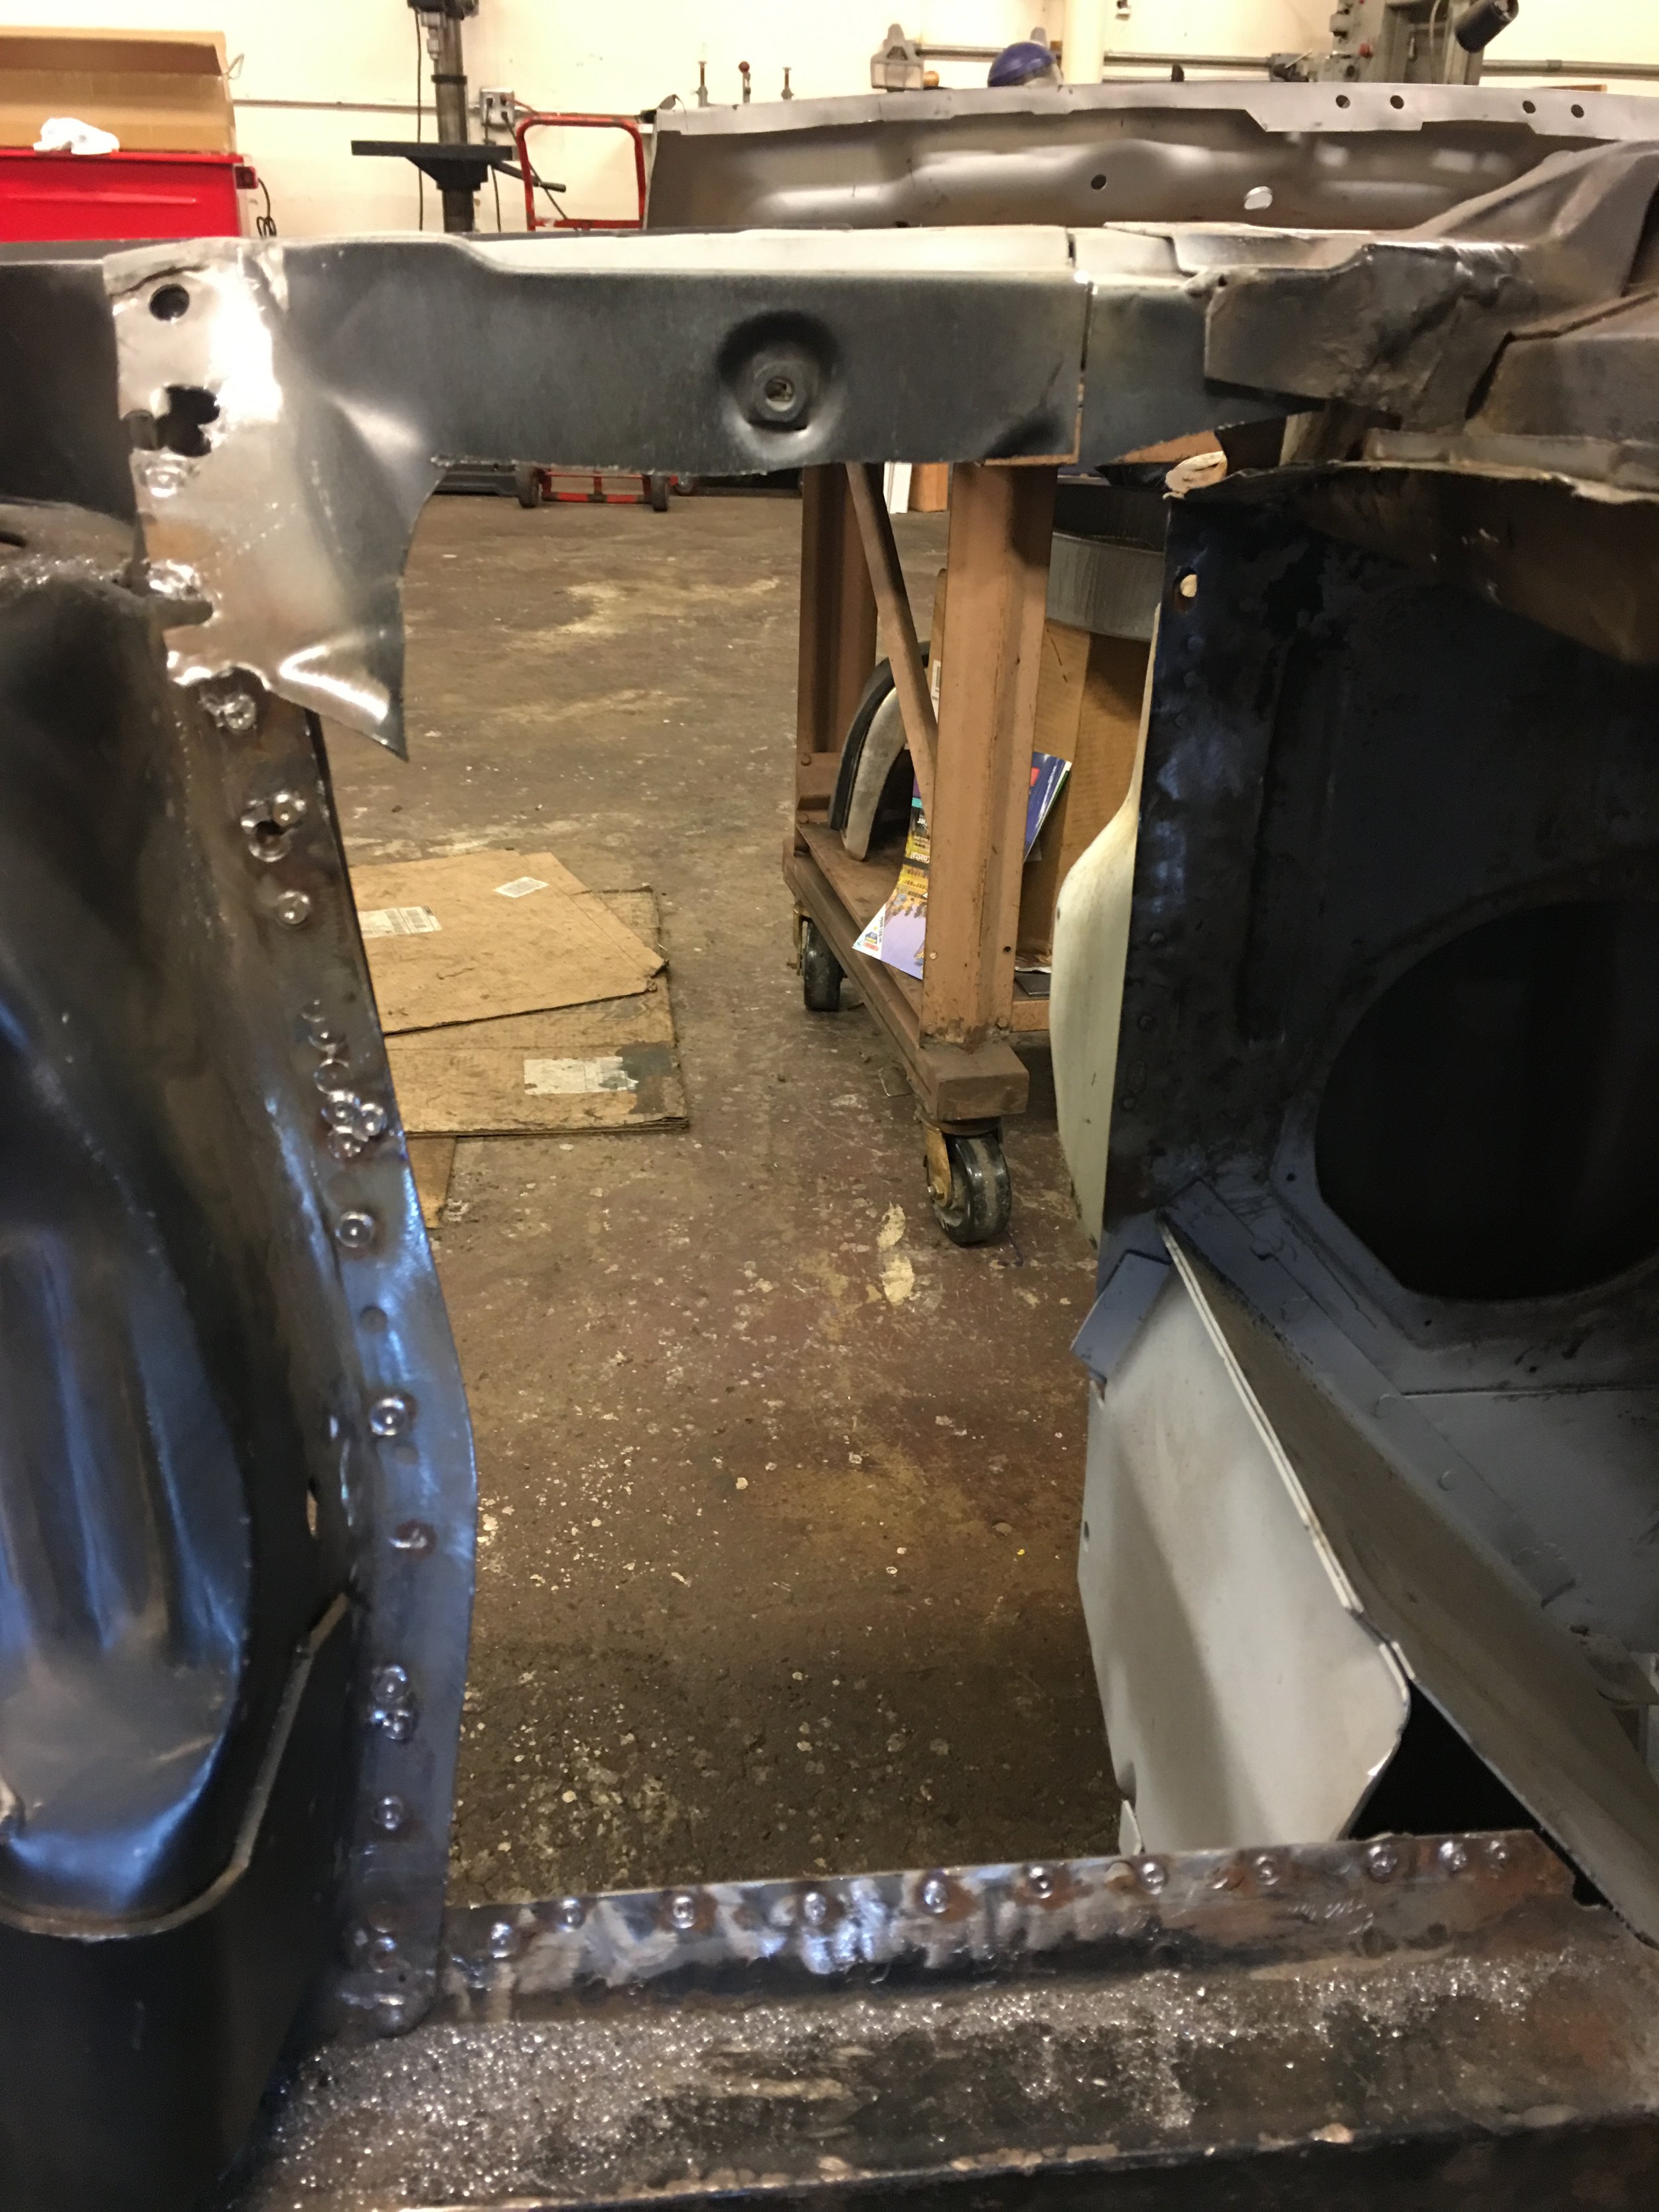

You would think that after hacking and chopping on the firewall, that it would fall into place, ok, you might not but I did. The right side slid into place and sat in the crook of the frame rail and floor support perfectly. With only a little pressure the extension sat solidly against the top of the torque box. It was the drivers side that didn’t want to behave now. The extension wouldn’t seat against its torque box or the front frame rail. The difference wasn’t huge but it wasn’t right. My friend Collin came by while I was fighting with this panel. It’s amazing what can be accomplished with another set of eyes and hands. With Collin in the car pushing and twisting on the extension, the gap I was fighting with decreased by a lot! I don’t remember why I didn’t zap this thing into place while I had Collin there helping but I didn’t. It was days later that I got back into the shop and tried to simulate what he was doing but with clamps. Not as good as what Collin was doing but it was a lot closer than what I was doing before.
A couple more days double and triple checking the fit and slowly welding each section and then checking the fit some more and the firewall was finally deemed complete.
I give myself a High-5 and then move onto the cowl.