
Cowl replacement
After finding the damaged firewall extension, the rotted floor support and frame, torque boxes, etc. I had to laugh when I was under the dash and saw my roll around through the side of the cowl.

and then, when I was cutting the firewall loose, I got a little careless and punched through the cowl on the right side.

Once I quit kicking myself, I was going to get in there and weld the tear closed but there just wasn’t enough metal to weld to. The metal was way thin from corrosion. With the discovery of the hole under the dash and seeing as I was already replacing the firewall, the floor, the engine bay, why not replace the cowl.
I ordered a new cowl. Depending on which manufacturer you decide on, you have the choice of a one piece or a two piece cowl, an upper and a lower. I chose the two piece from Dynacorn, PN 3648 JWT. From what I was reading, the two piece will fit better.
Before I removed the cowl, I started thinking that it was the only thing keeping the car from getting too floppsey. On hindsight, I should have thought of that when I cut the floor out. Luckily I never intended to move the car. I made sure I leveled out the car before starting on the torque box so I made sure not to disrupt that set. I found some scrap square tubing and welded those bars in across the dash area. It wasn’t as gusseted as it probably should have been but I was more concerned about the car getting wider than twisting.
While separating the cowl halves, I found that they had been bonded with some sort of sealer as well as being spot welded. I researched it and found that the cowls had been sealed like that from the factory. I tracked down a two part epoxy that is used in modern car assembly. It’s a 3M product.


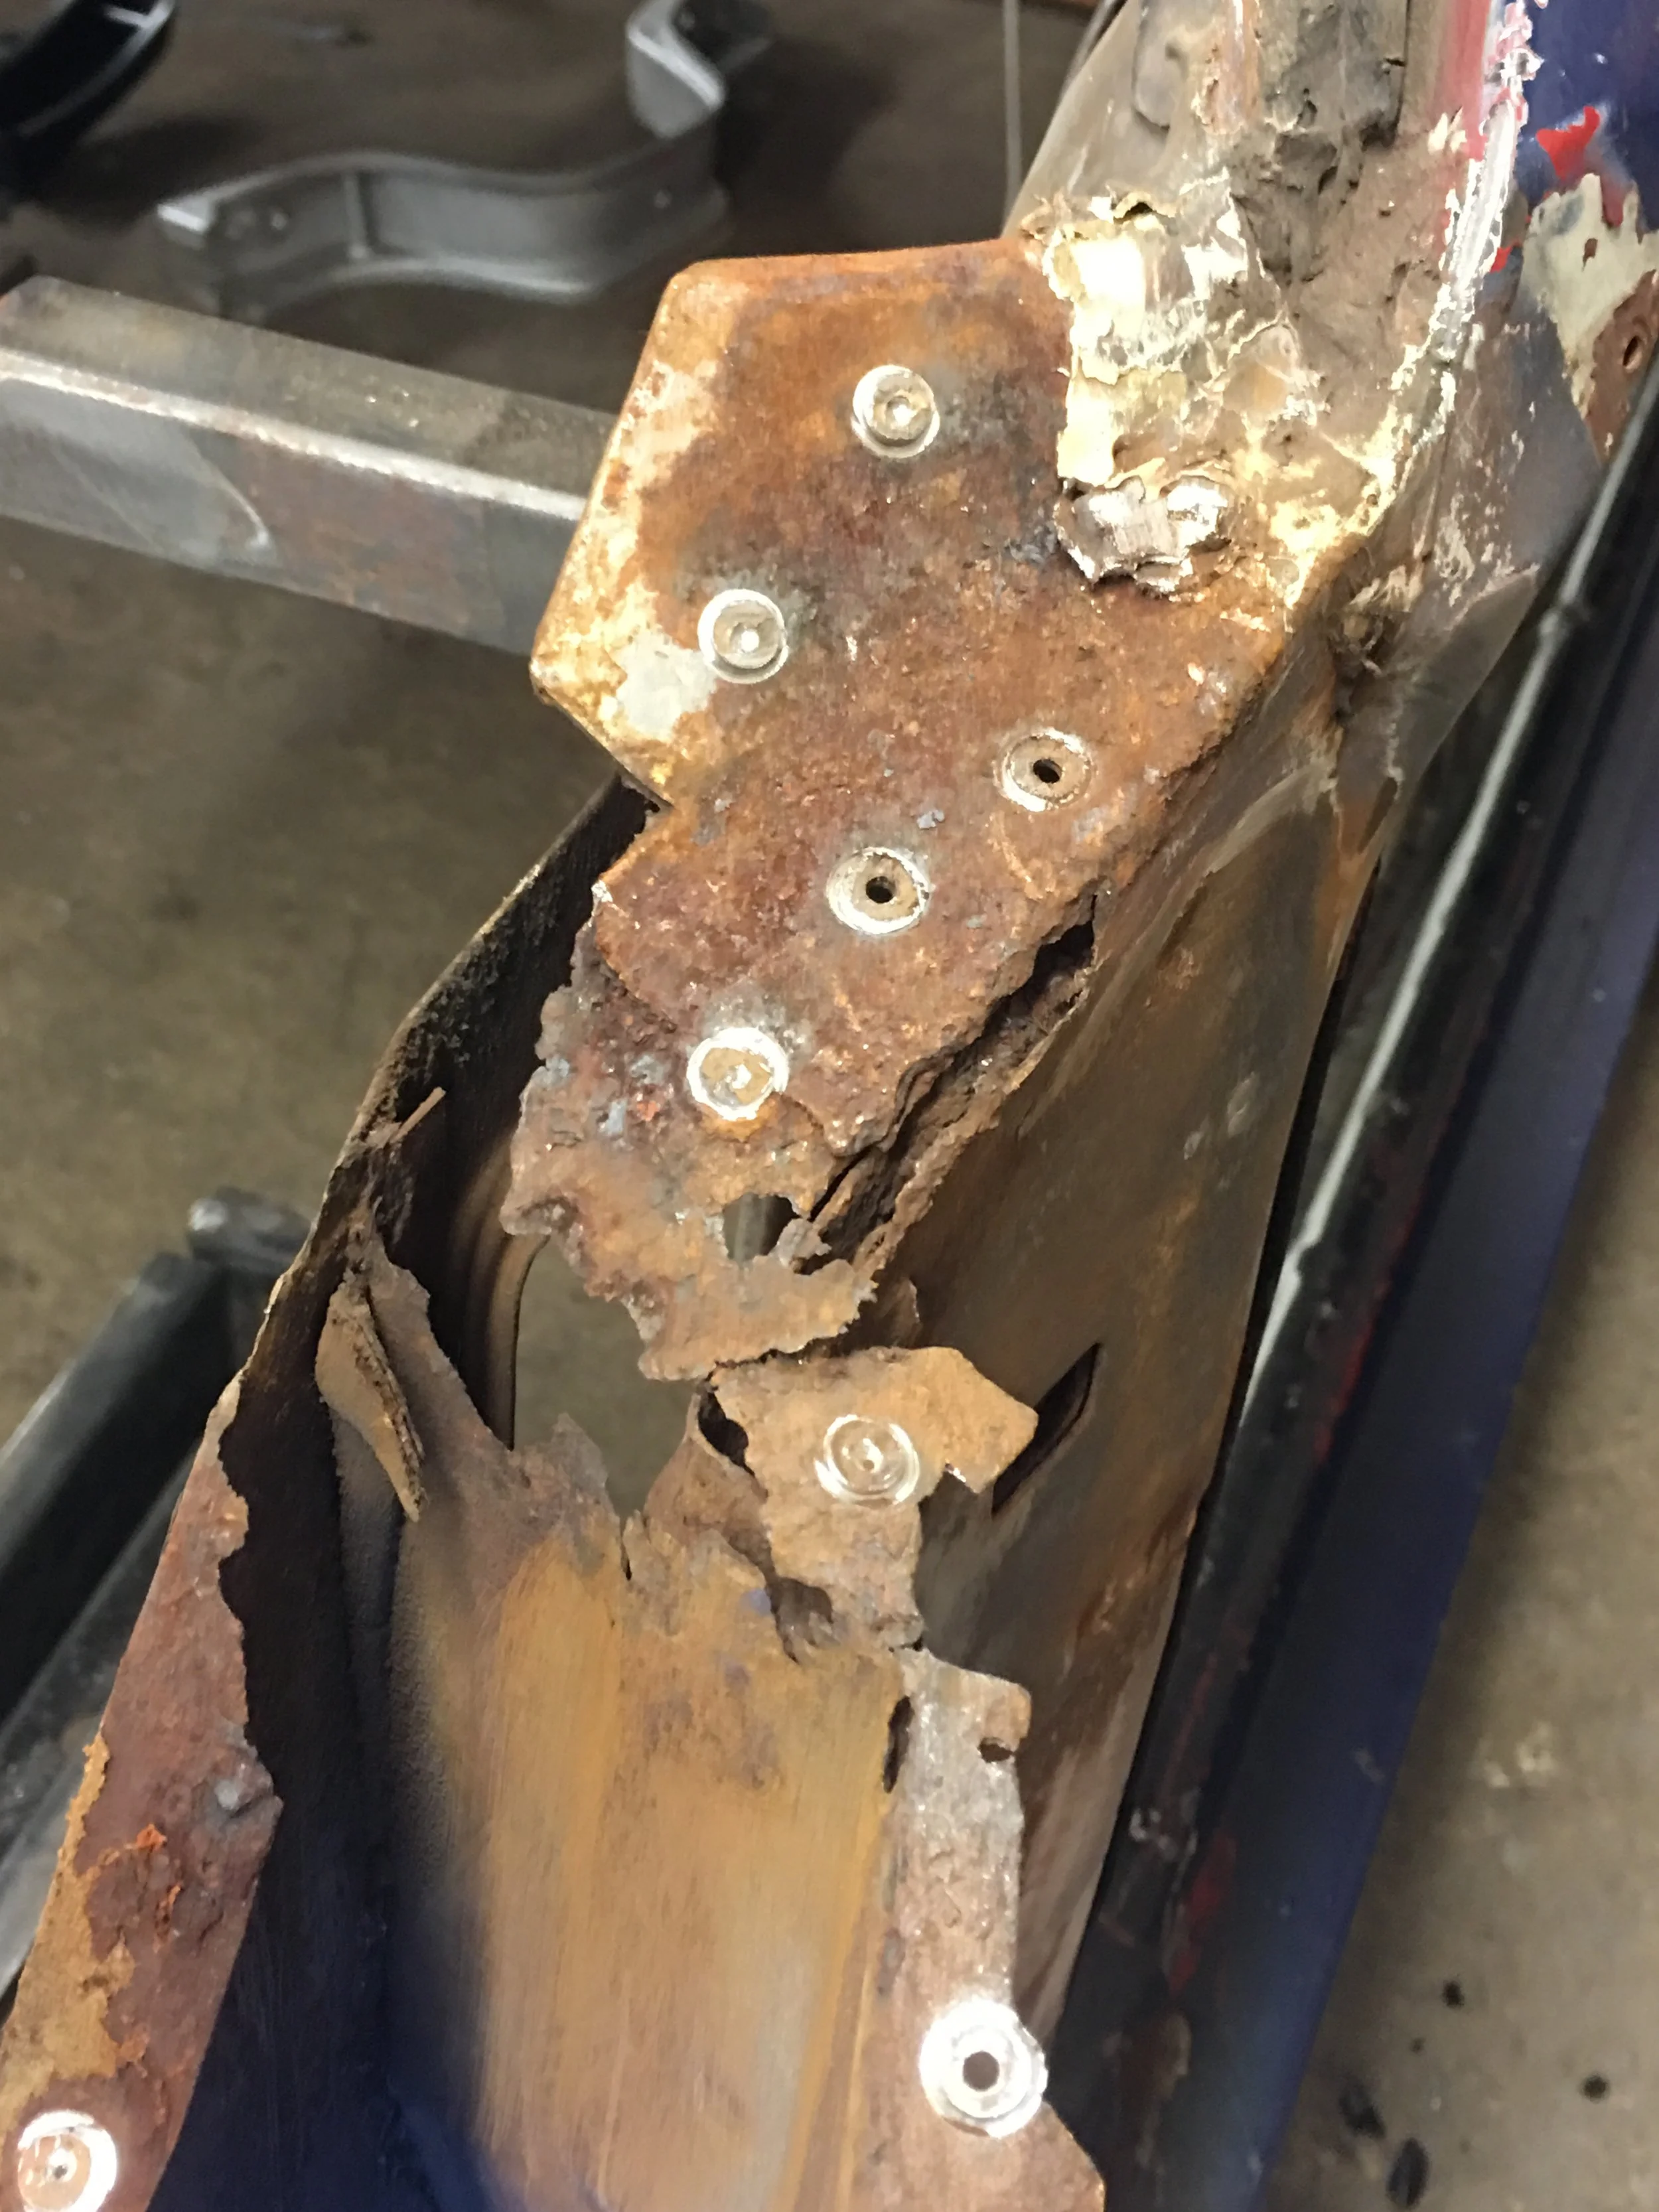
I eventually got the lower cowl section off and I’m glad I decided to replace it. The side parts, some people consider it a part of the cowl, I did some researching in case I had to replace these parts and they were referred to as part of the A-Pillar. That was news to me. The tops of these cowl/pillars were pretty well rotted. The left side, the side I saw light coming through was the worst. Funds were a bit low at this time so I decided to try my hand at fabricating to rebuild and replace the rusted sections. The right side was rusted but nowhere near as bad as the left. Even heavily rusted, it still had most of its sheet metal so I used that as my model.


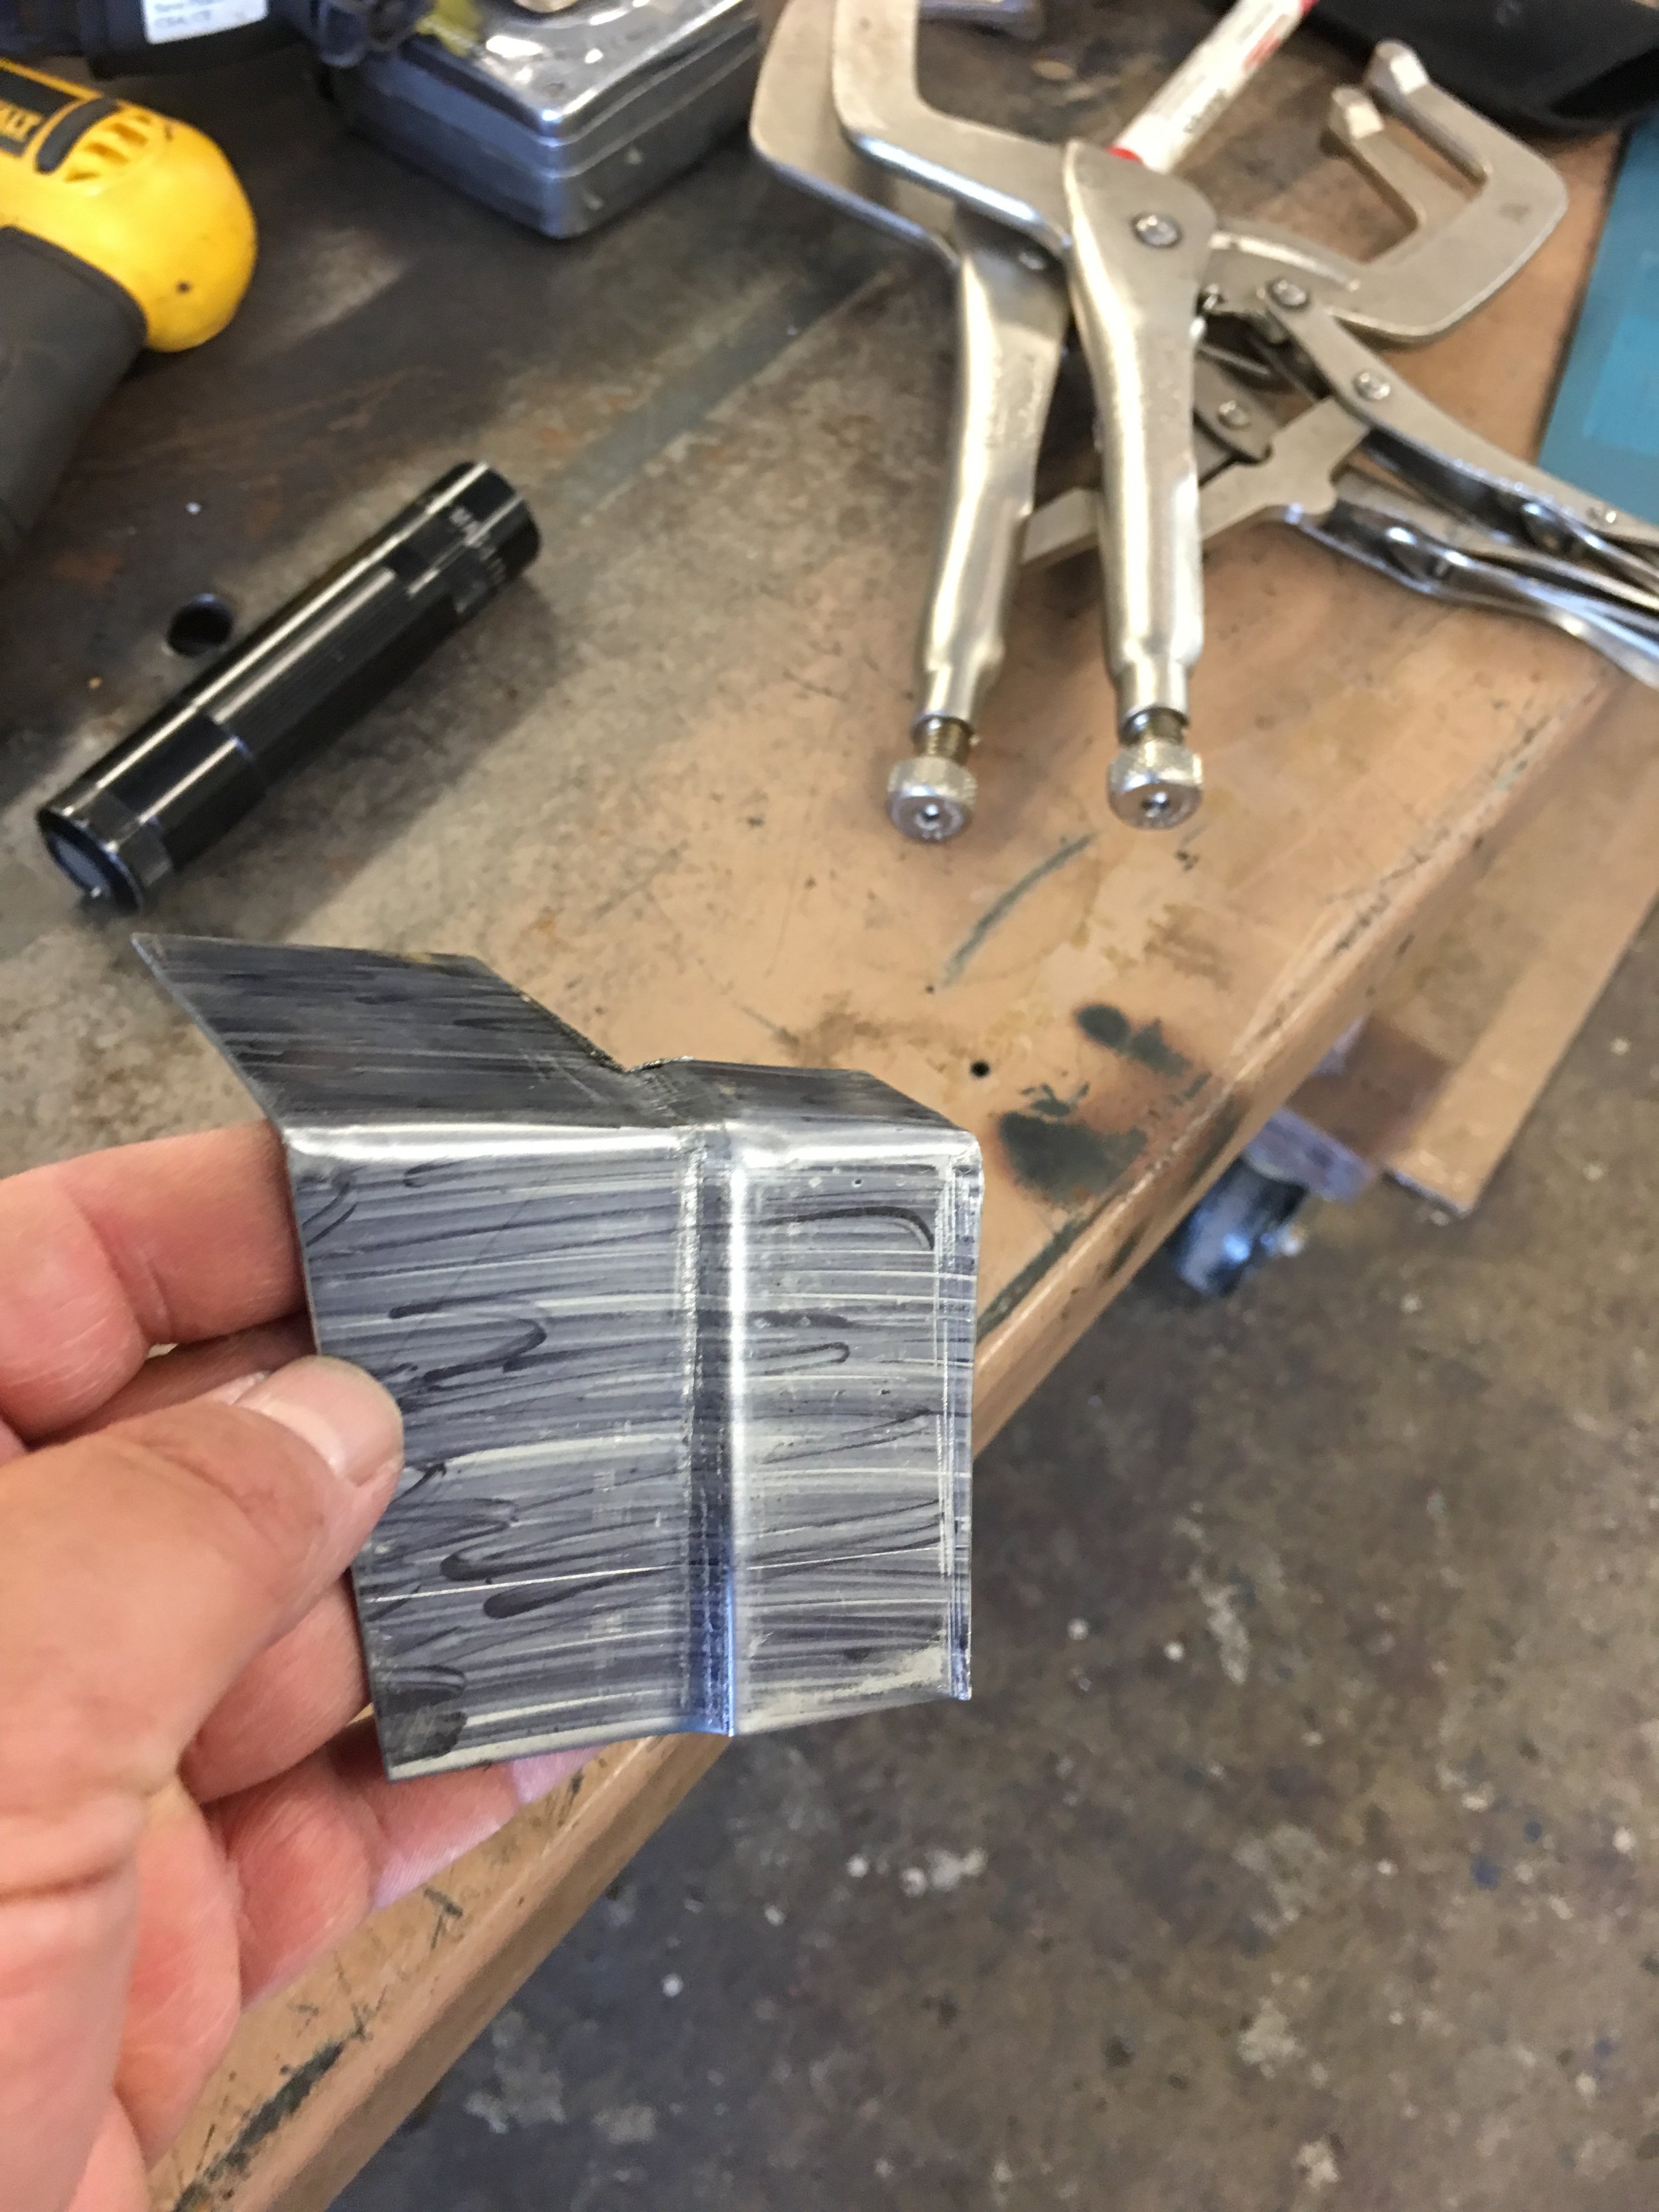
I had watched an episode of Wheeler Dealers where Ant Anstead repaired the sheet metal around the window of an old Saab…or was it a Volvo? Senior moment. Anyway, I was curious to see how he would affect the repair seeing as it was an irregular shape and pretty large. He showed that the patch did not have to be made out of one big piece of metal and that it was best to make it in sections. Armed with this piece of common sense, I approached my maiden repair job with caution and a bit of relief that all of the work would be covered up by the new cowl. I have to say, I had a good time forming these small pieces of metal. I don’t have a metal brake but I had some angle iron and a large metal work bench and some C-clamps. I was able to approximate a brake..


For the record, it was now early 2019, two years since I got back into working on this car. I’m not fast at all when it comes to this stuff but I am persistent.
Eventually I replaced all of the rusted sections with nice clean metal and sprayed with some sort of paint to protect the work. The “cowl” was now ready for the cowl halves.
I did more fabricating in this area than I’ll probably do on the whole car. JINX!
Finally, now I can move onto the actual cowl replacement
I don’t know if I was supposed to but I used the two part epoxy on the seam between the lower cowl halve and the upper firewall.


I was going to paint the car a Teal but have since changed my mind.
I then used it on the mating surface between the two halves.

Just for this section I went to Harbor Freight and bought their 220 Volt hand held spot welder.

This thing worked surprisingly well. I didn’t expect much from it but as long as the instructions were followed on how to set up and maintain the electrodes plus clean the area to be welded of rust, paint or anything that will not allow a good ground, you’ll get a good spot weld. I think 3/16” is the recommended thickness. That’s roughly three layers of 16 gauge sheet metal. Most of the Mustang sheet metal is 18 gauge which is thinner than 16.

It was able to reach most of the necessary spots around the cowl but there were areas the welder wouldn’t fit so I had to get the Mig welder and make some plug welds.
Around the edges of the cowl that had the 2 part 3M sealer applied, I had to be aware of the sections I would be using the electric spot welder and the ones that would be welded using the Mig welder spot welder adapter.
When clamped properly, the 240V spot welder welds through the adhesive but the Mig welder couldn’t so I had to make sure that there was no adhesive in the exact spots the spot weld adapter was going to be used.
This sounds like a slow process, and it is, but the thing about the HF spot welder, it gets hot which affects how well it works. I had to do a lot of counting. So many seconds per weld and then so many seconds in between each one. The manual breaks it all down. I can’t remember at the moment. Oh, and the thing is heavy so make sure you find a comfortable position to hold the spot welder when/if you try to use one.

Just a comparison. The lower circled welds are the Harbor Freight spot welds and the top ones are the Mig plug welds.


For me, these two pieces mean that the front of the car is done. These two braces tie the tops of the rear aprons to the cowl.
One more bit.

This one little tab had me obsessed for quite a while. It’s the upper mount for the rear of the right fender. When I removed the fender, it was missing. It had rusted clean off. I could not find a reproduction replacement part and some guy on ebay wanted $60 for the left and right tabs.
I had the left side and was planning on using it as a template to make my own for the right.
It turns out that these little chingas are included with the two piece cowl..
With the tabs welded in place, I can breath easier. Now I know that from the radiator support to the dash, the car is solid and rust free. To be honest, it’s rust free to the rear axles but it’s also metal delete inside the car so it’s time for some taco truck tacos and then work will continue on this engine project.