
From Truck to Boss
***This post focuses on heavily modifying the power brake vacuum booster. DO NOT ATTEMPT ANY OF THESE MODIFICATIONS. This is to be read for entertainment only. Tampering with the factory structure could lead to brake failure and can endanger your life and those around you.***
It took two tries to get a working Boss Mustang booster from a booster designed for a pick-up truck.
I wanted to make it difficult for anyone to tell the booster had been modified, even if they were to take the thing apart to rebuild it.
To accomplish this, I thought I could cut the existing studs out, fill the holes and then relocate the studs to their new position.
Using the 1” hole saw and aluminum post guide, the studs were cut out of the booster shell with little drama.


Using 18 gauge sheet metal, plugs to fill the holes left by the stud removal were cut out by hand…well metal shears actually. Hand held type. Like scissors.
My welding skills were still very questionable. Thankfully my friend Kevin, no, different Kevin, volunteered his brass brazing skills to put the patches in place. While he worked, I watched and tried to pick up on as much as I could.


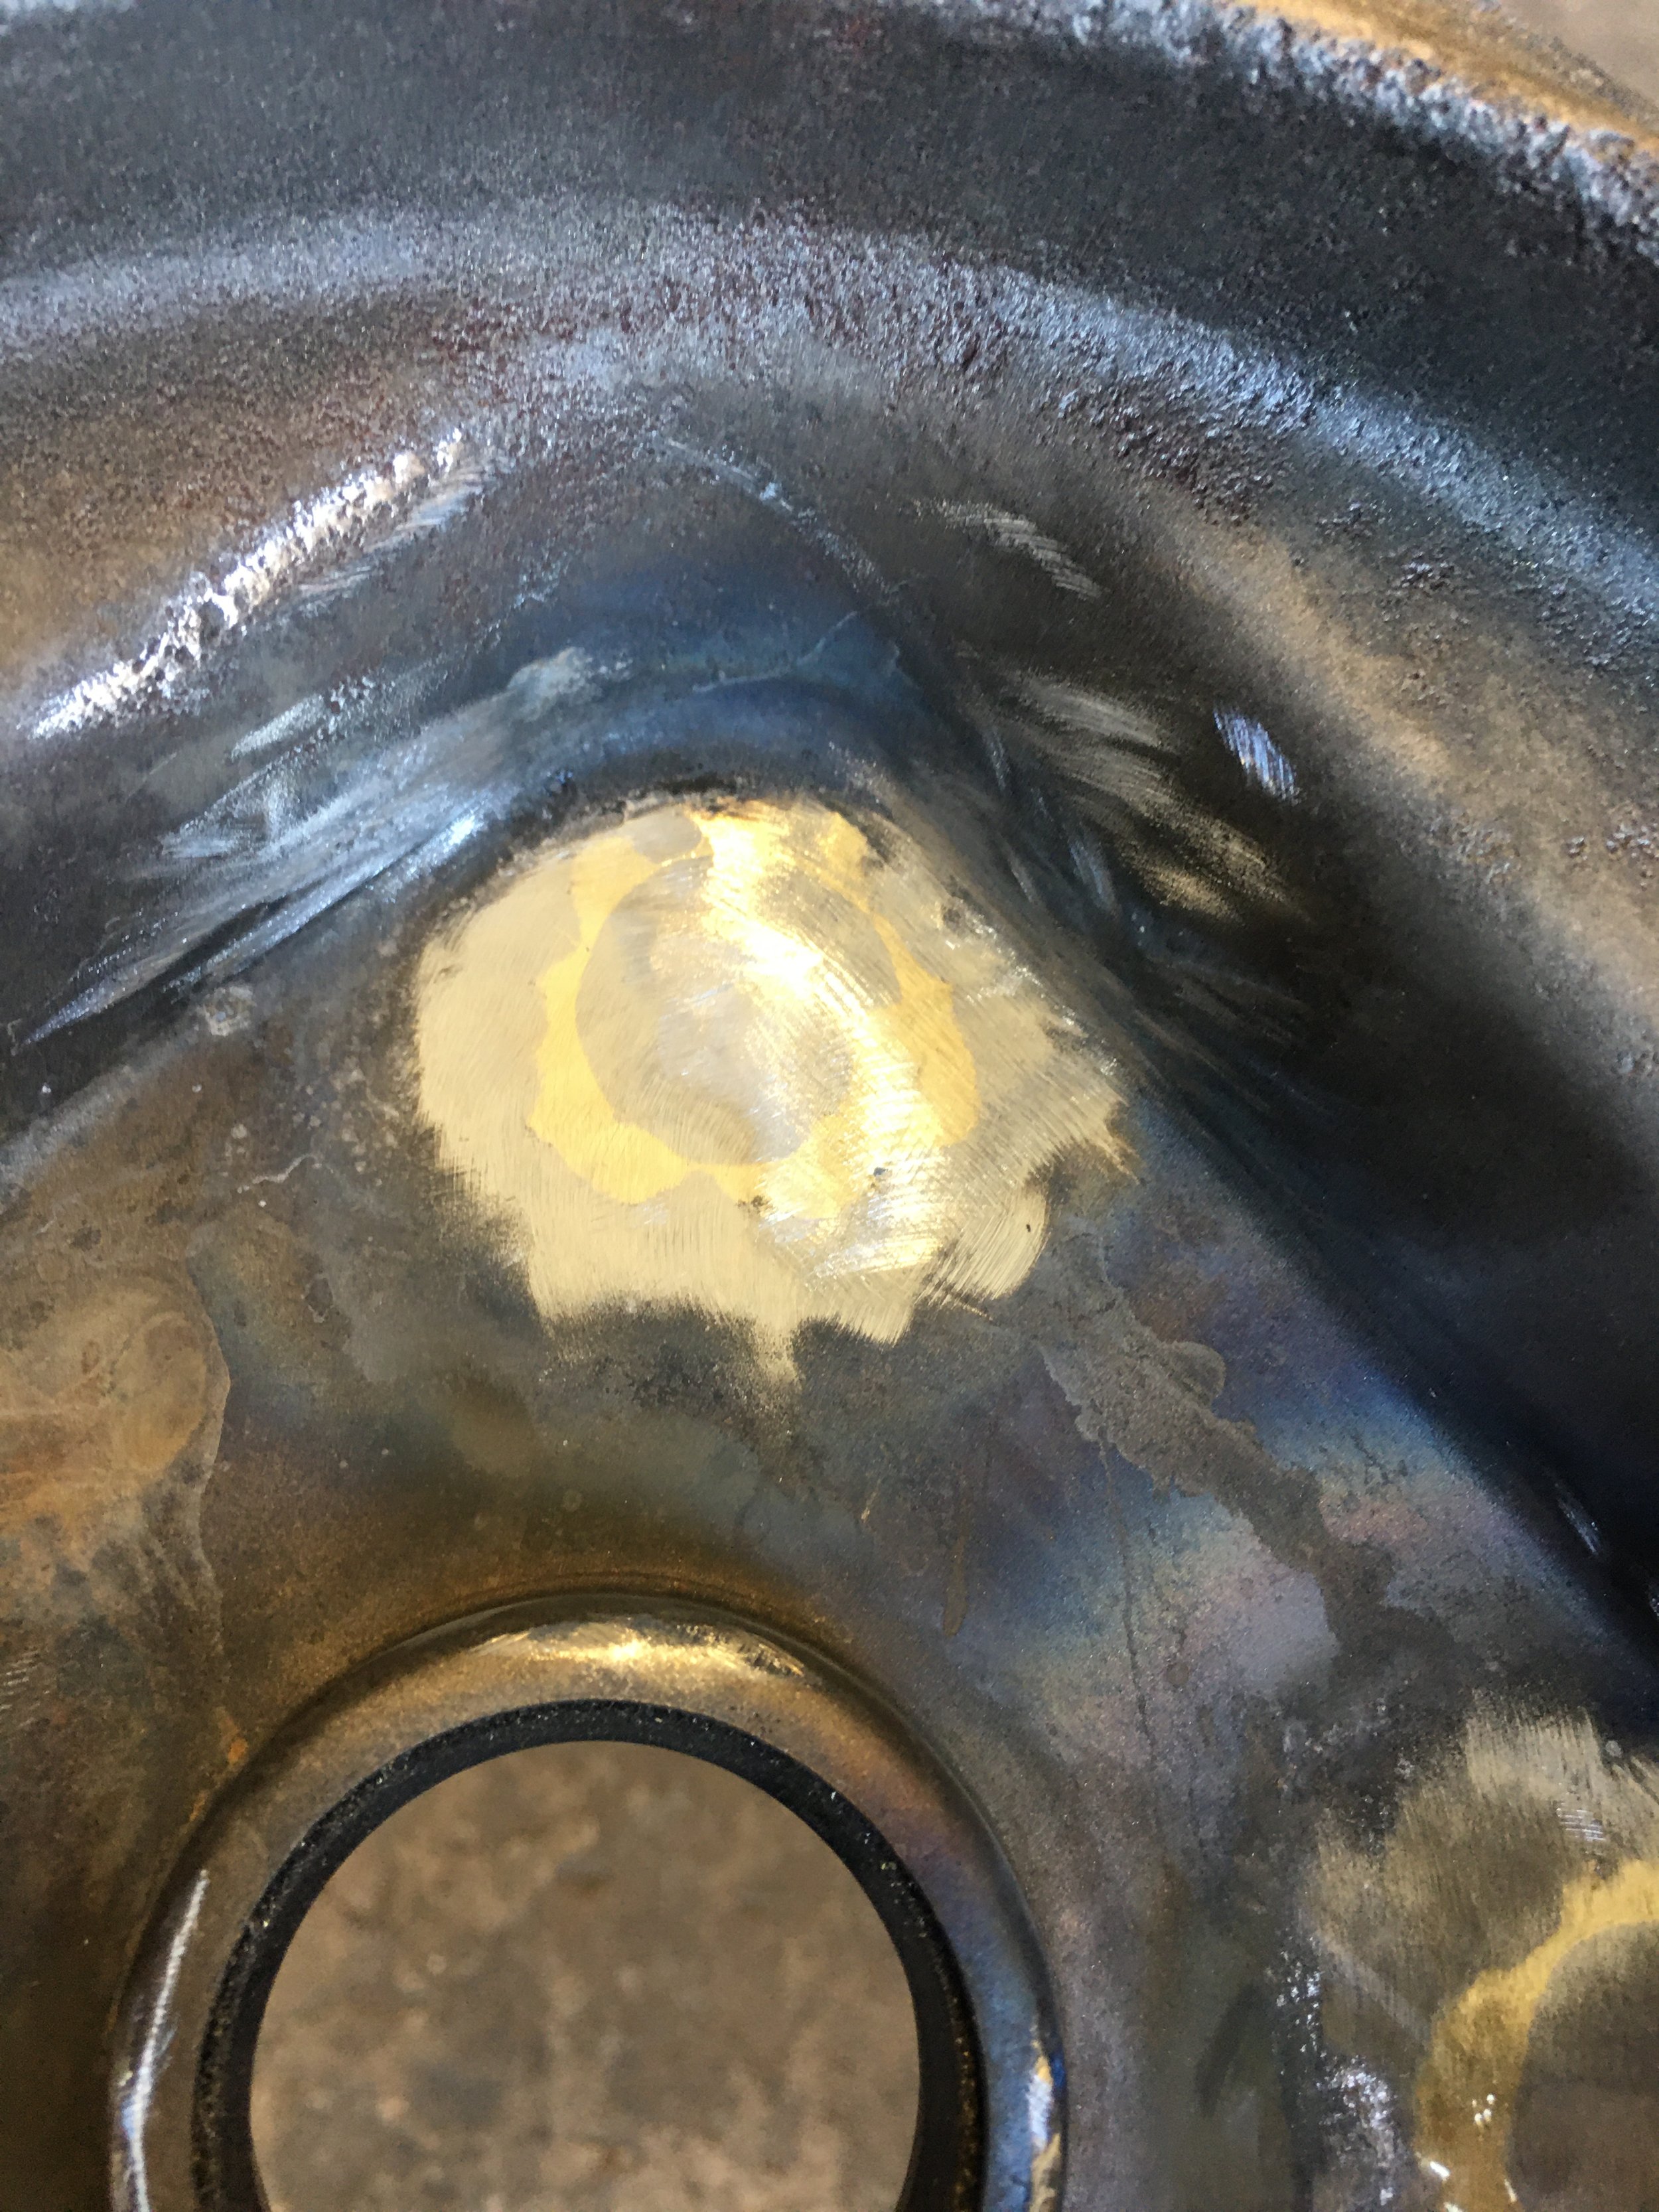
Kevin did a great job, the brass filler flowed easily and filled in any visible voids.
The patched areas were ground flat and smoothed to make it easier to see any voids or cracks. All good.
I waited a day to put the studs in their new location.
This first attempt was like shooting from the hip, more guess work than anything.
The centering plug was attached to the aluminum jig (I need to give that thing a real name) and it was placed in the center of the rear booster shell. I used the corners of the jig to locate the stud holes as uniformly as possible.
The 1/4” holes and a transfer punch marked where the stud holes will be drilled.
An 1/8” drill bit was used to make a pilot hole and followed that up with one of those stepped drill bits and cut the pilot hole out to 7/8”. The studs fit a little loose for my tastes but not a lot I could do to tighten that up.
This time around, I took on the brazing work myself. I practiced on some other pieces of metal. I had to call Kevin for some advice but soon was feeling not so incompetent.

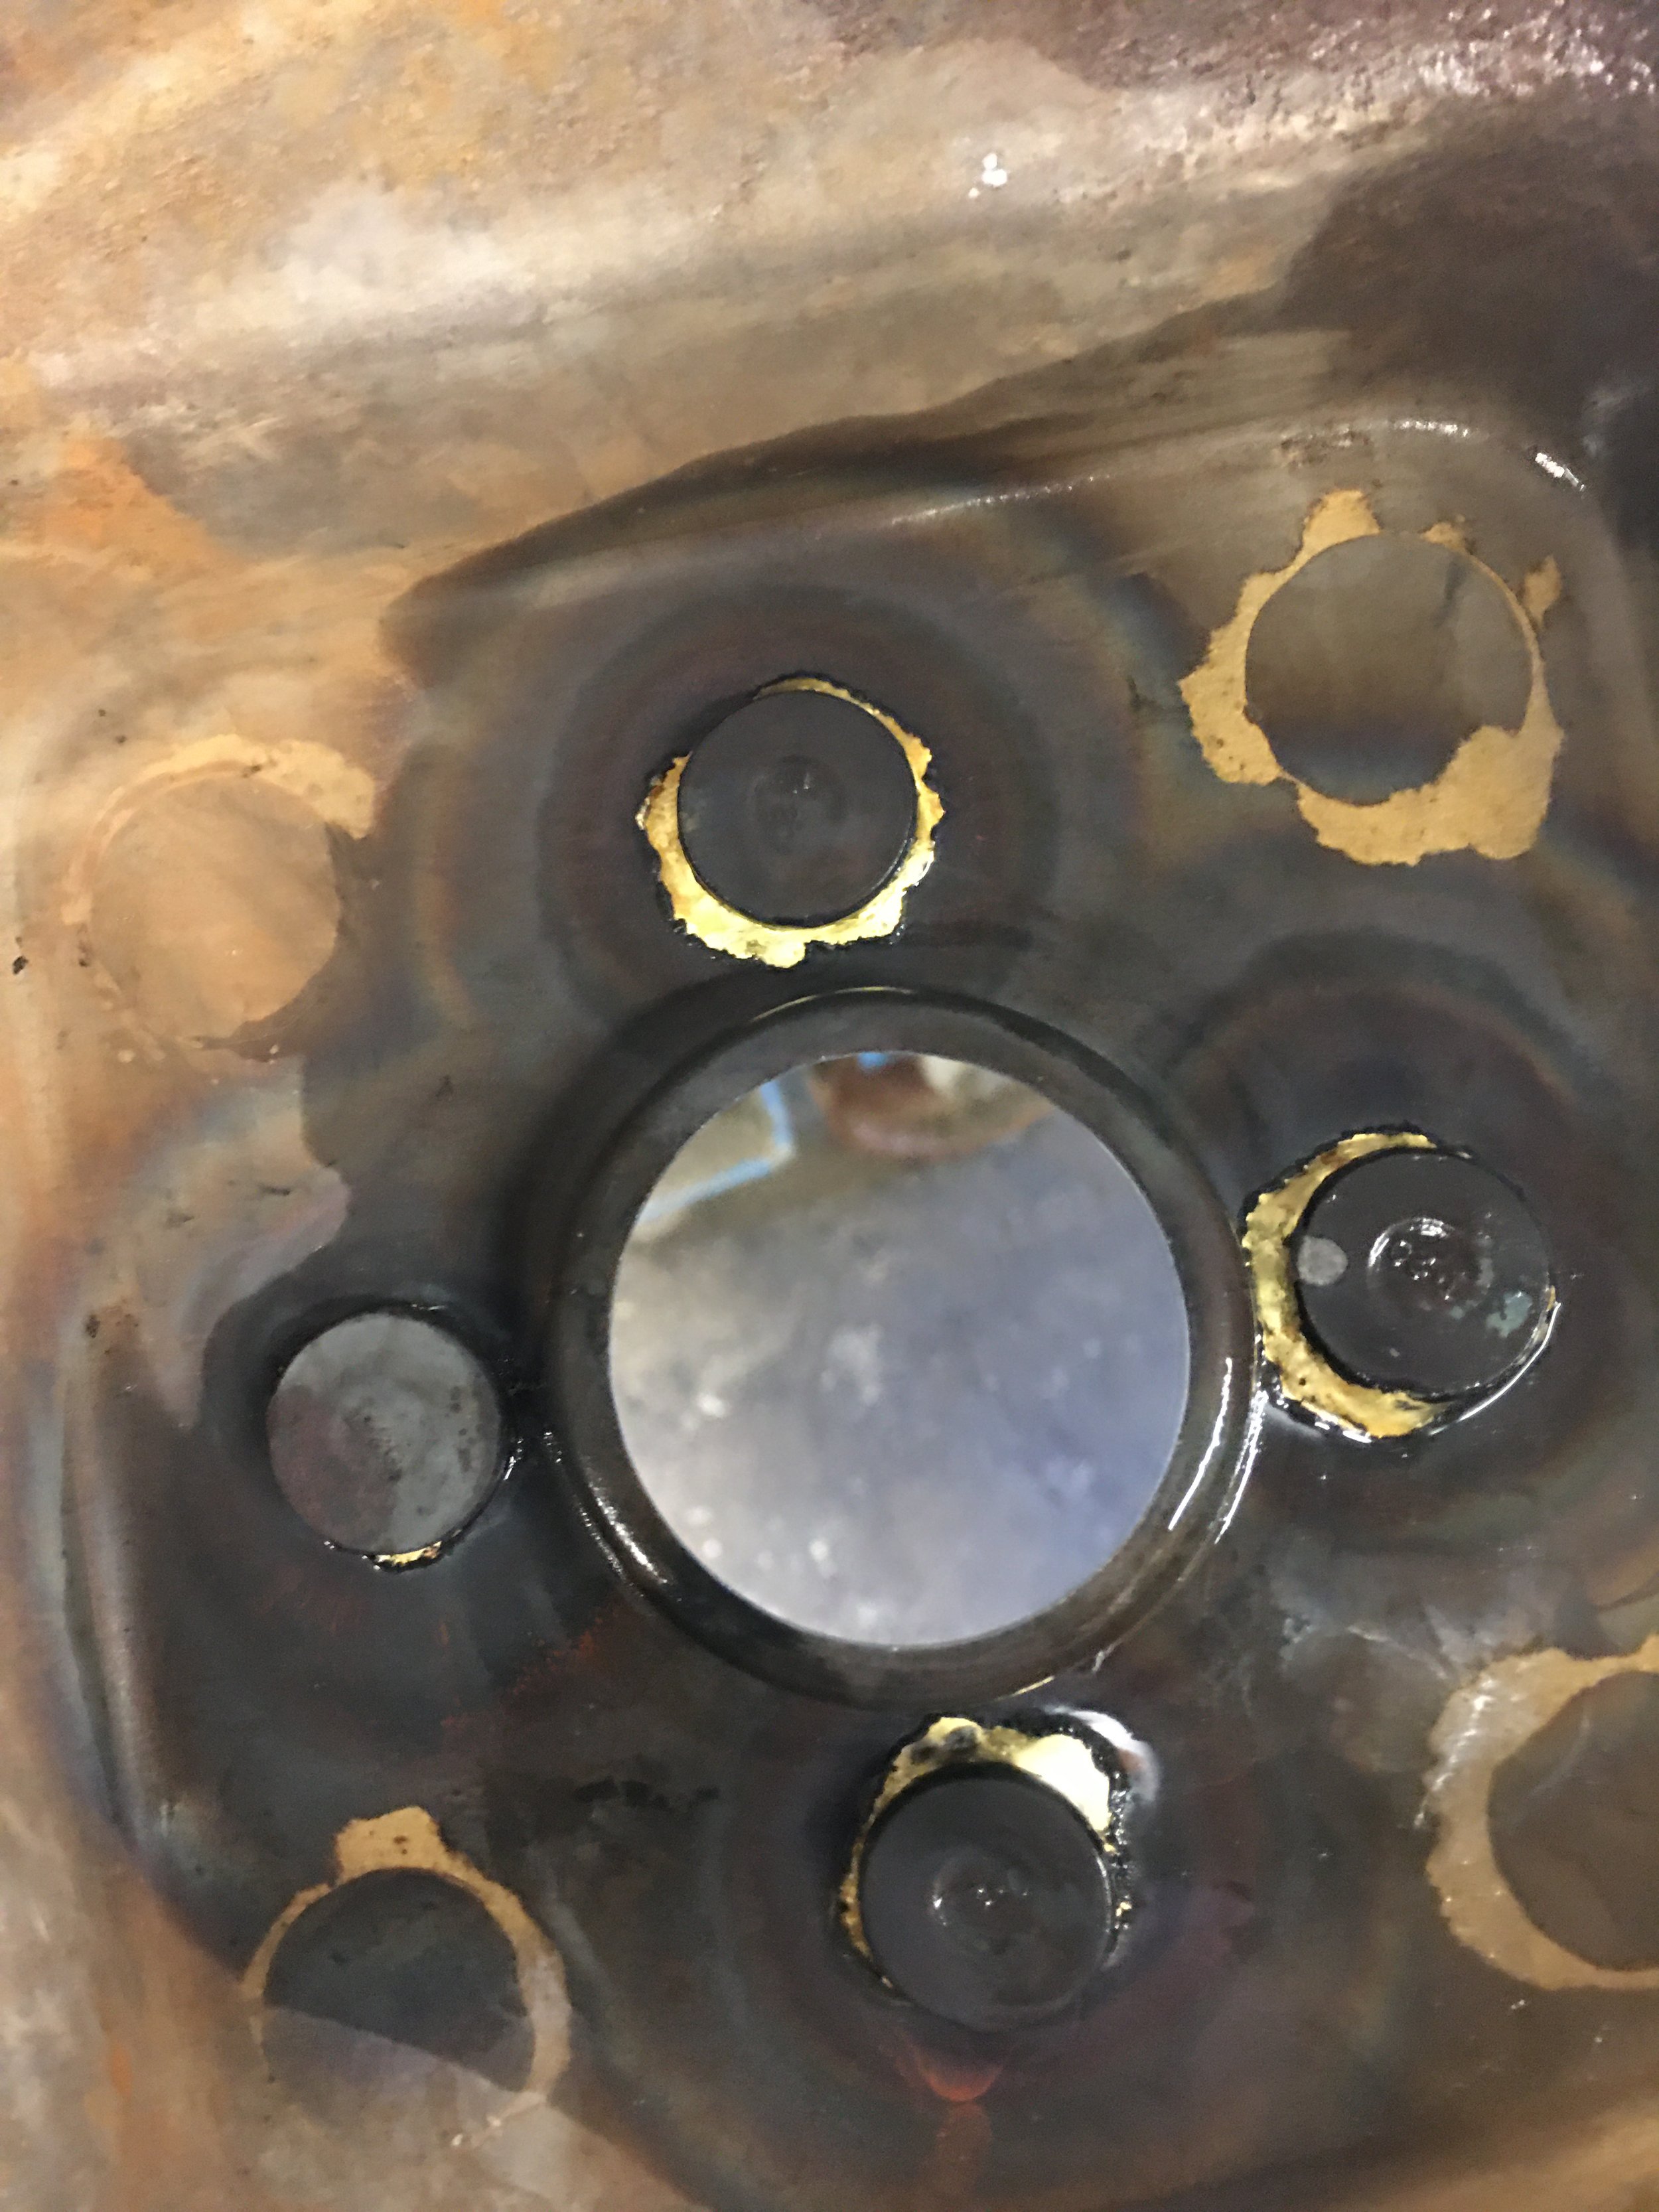

When the studs were secured, the wedge was used to check the alignment of the studs and despite my best efforts, the studs shifted when the metal cooled, or so I thought.
The studs were spaced oddly. Three of them would line up fine and the fourth was a little off. The metal isn’t all that thick so I thought the stud could be tapped into alignment.


The wedge adapter was eventually coaxed over the studs but then it wouldn’t come off. It had to be pried off with a pry bar. Unfortunately, a stud out of alignment was not the worst thing I discovered.
The metal was cracking around the newly brazed studs.
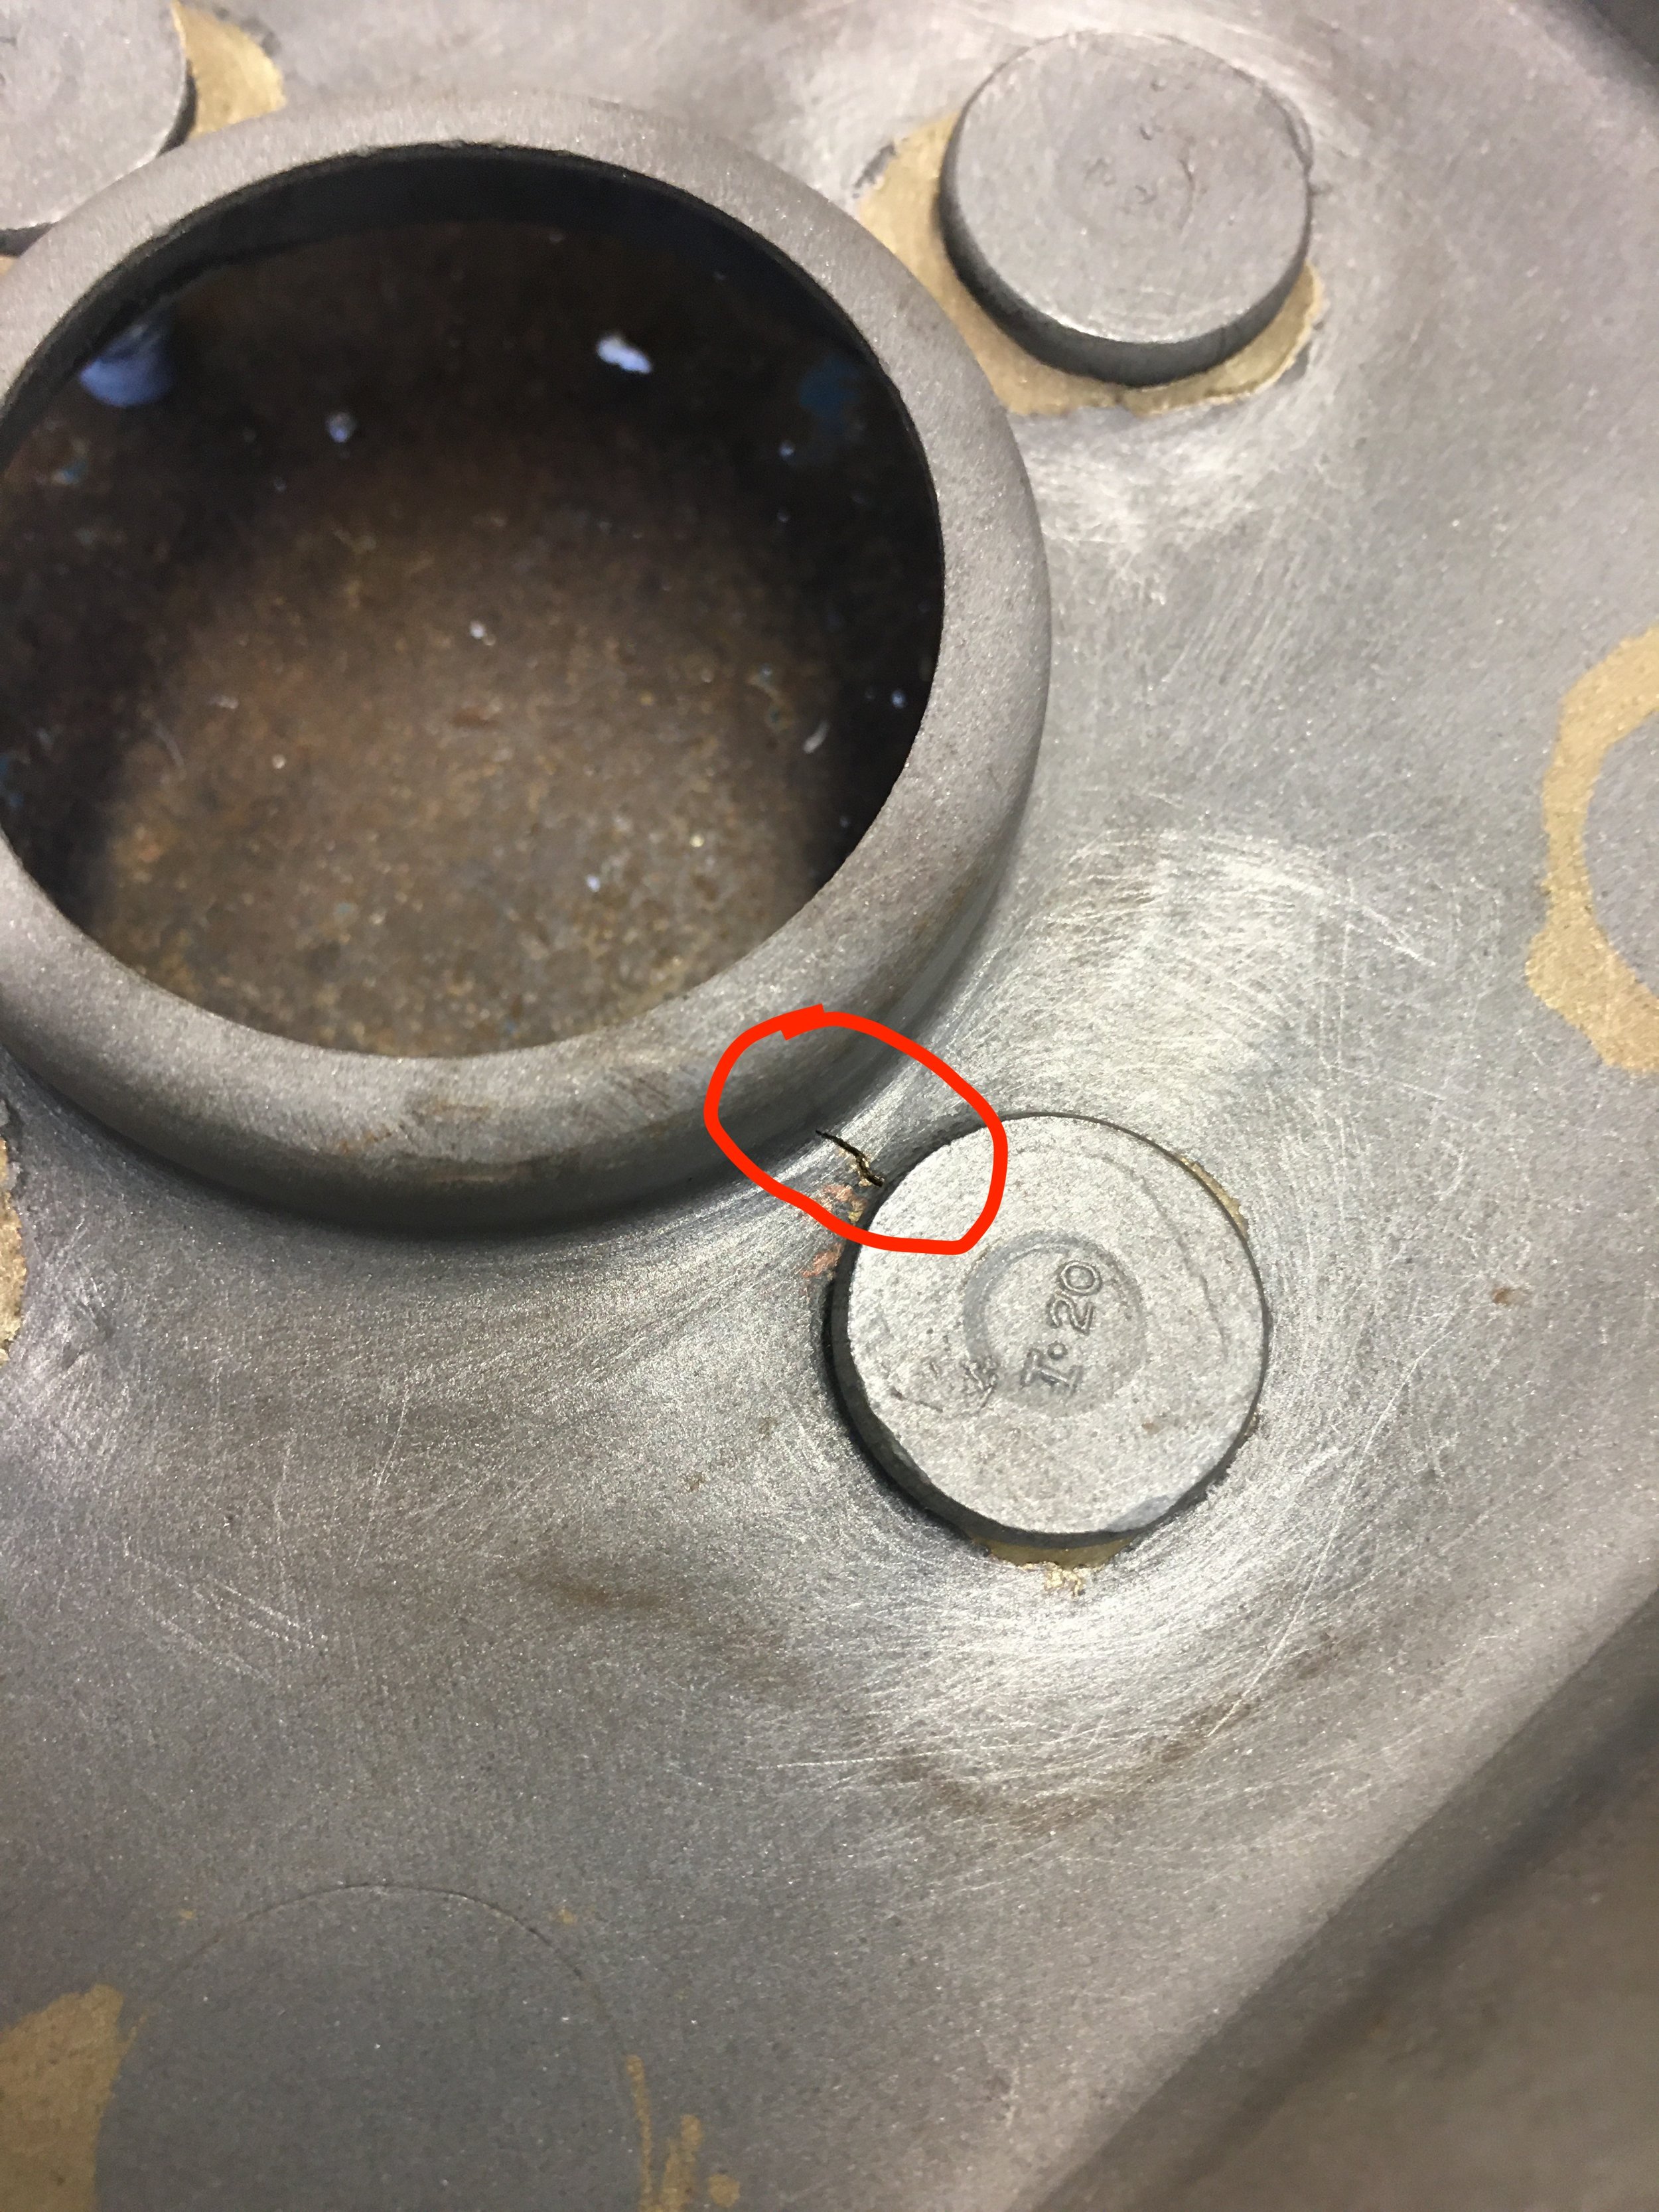


I used a dark room (bathroom with the lights off and door closed) and a flash light to discover more cracks.

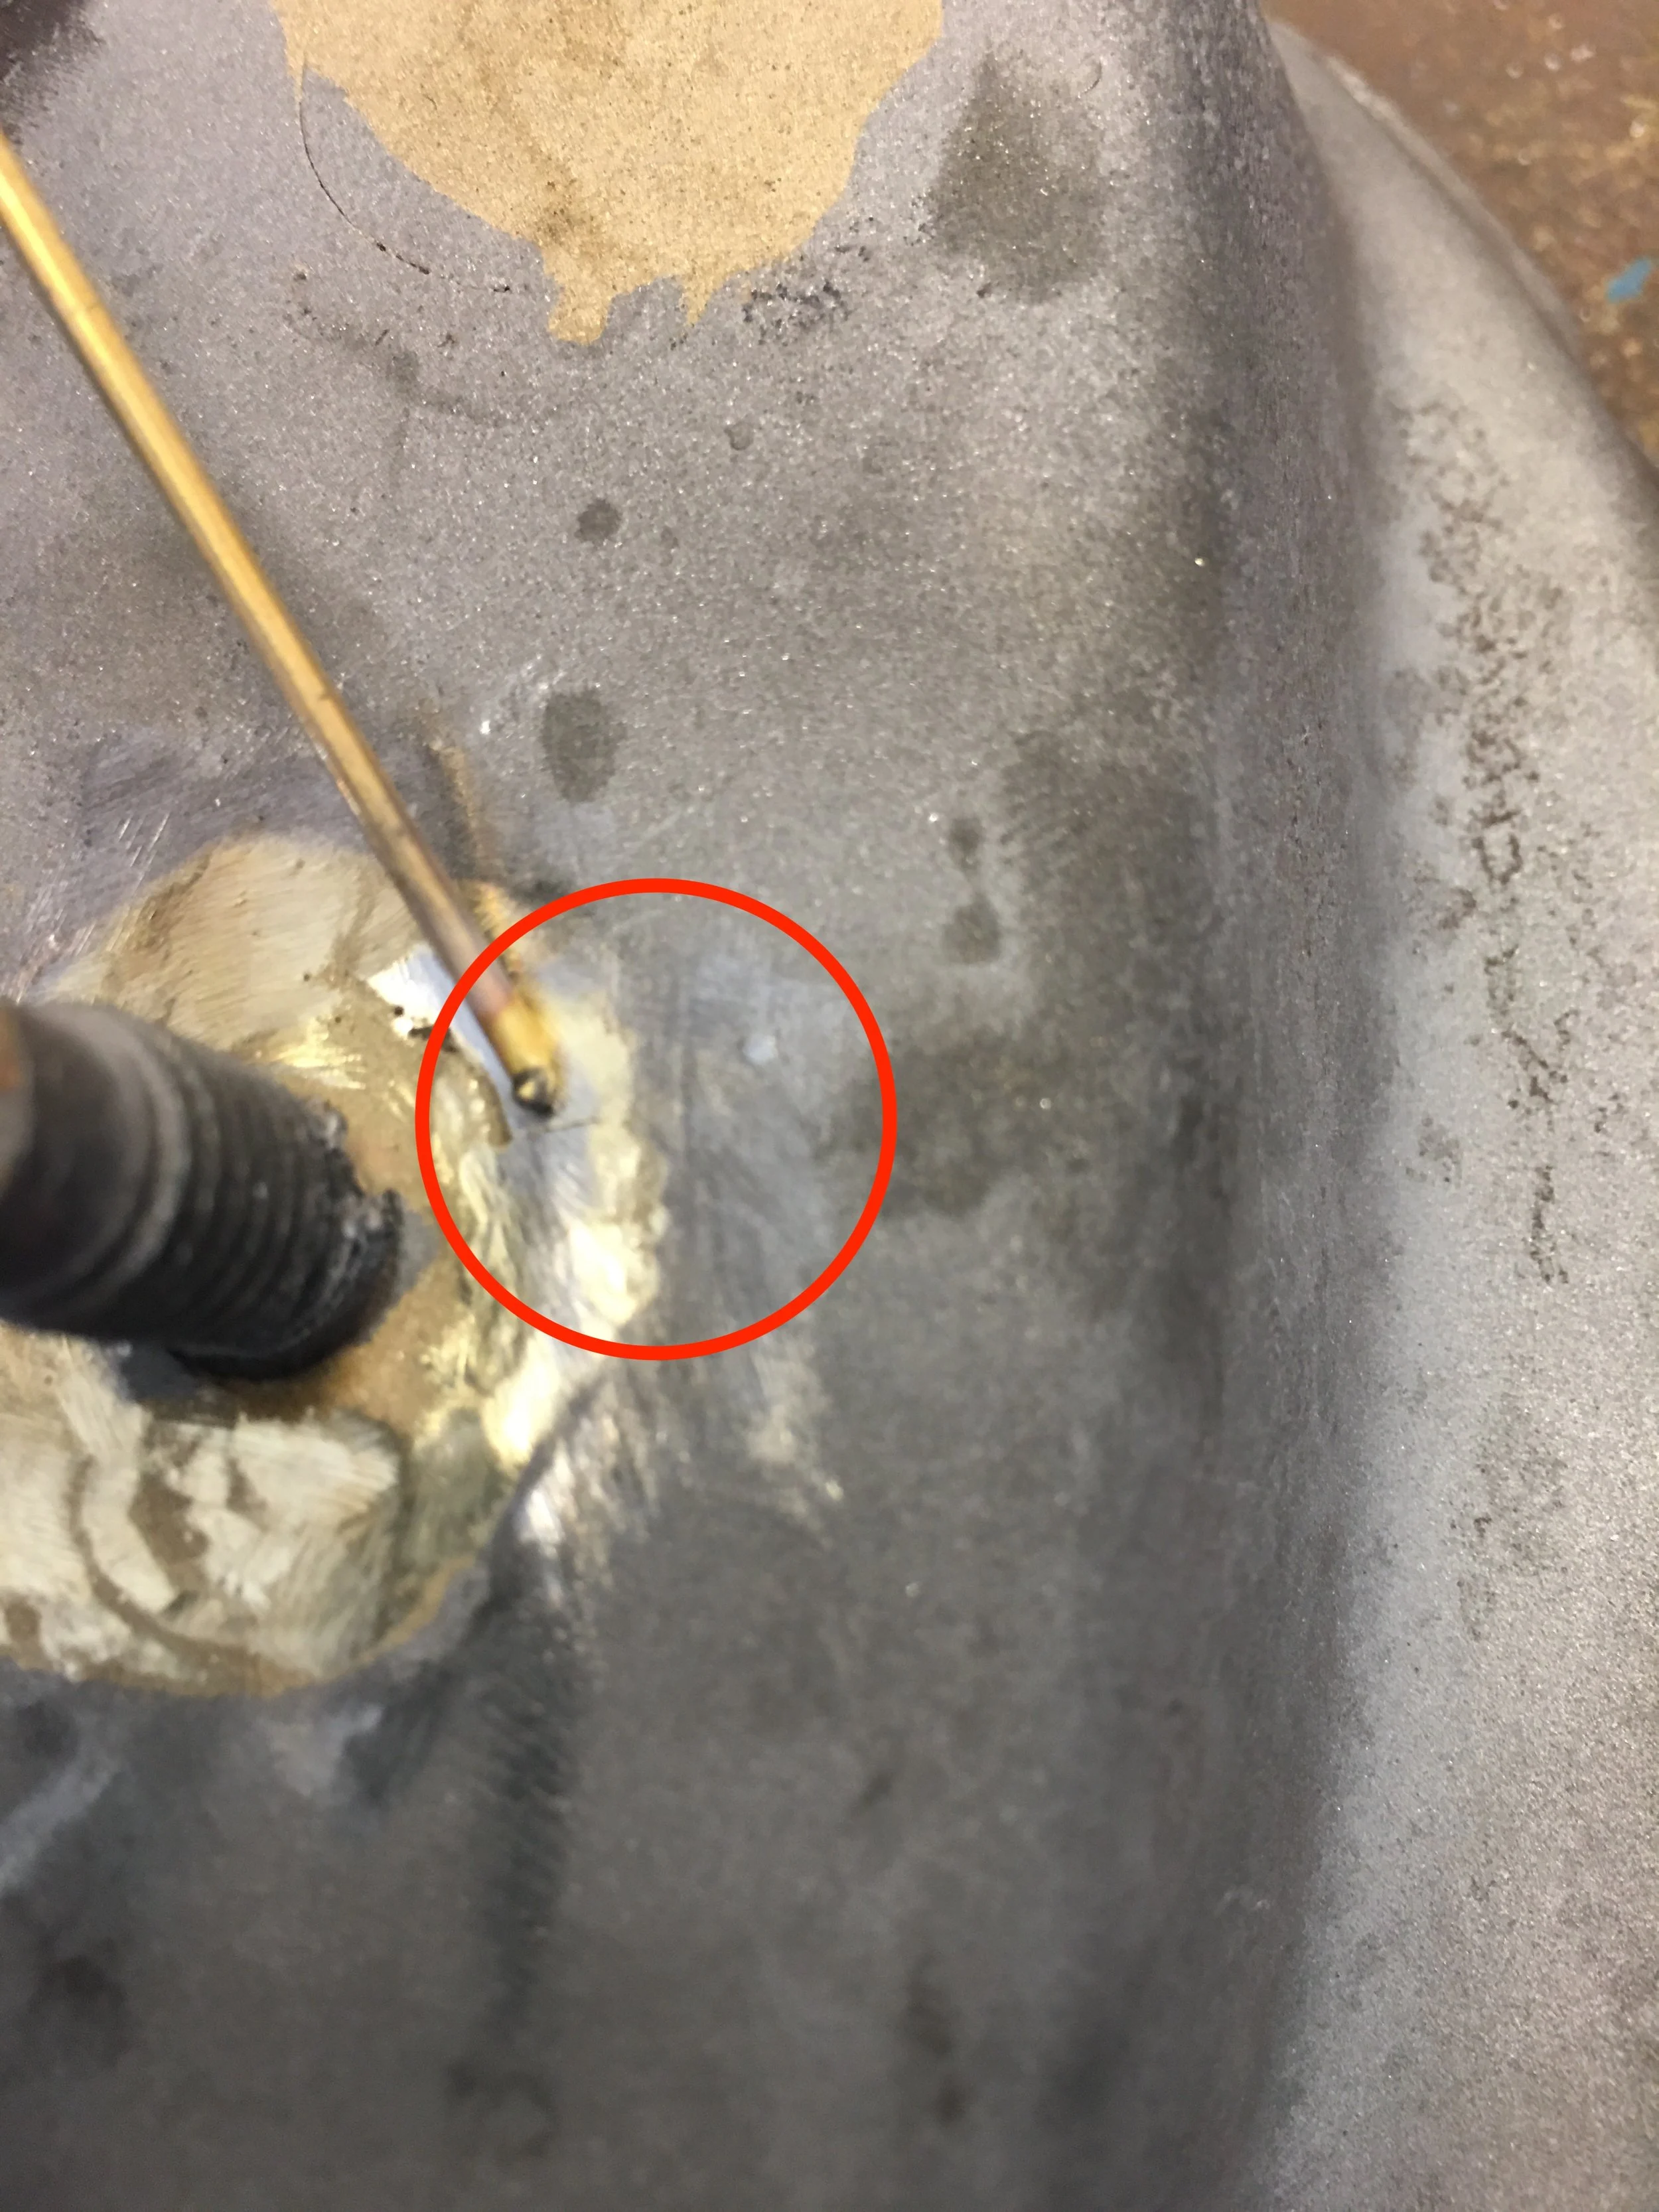
The more brazing work was used to make repairs, the more new cracks would appear. I began to grind out the crack and drill holes on either end of the crack in hopes of stopping them from spreading.
Another conversation with Kevin and he brought up a good point, this was 50 plus year old metal. Metal gets brittle, dried out, with age and won’t take heating and cooling as well as new steel and I’m seeing this in action.
I felt I could probably use some modern goop, like what was sprayed all over the floor pan, to seal up the inside of the booster. Maybe just regular paint will fill enough of the smallest voids.
I think the manner in which I reused the existing studs and the large holes that had to be filled may have put too much heat into the case.
I have an idea on how to approach this in a different way. I am hung up on an authentic look, even though the majority of the people looking at it wouldn’t know, but I also have to be practical.
If Boss booster 1.2 fails as well, I’ll have to look into modifying a newer booster that looks nothing like what I want but will do the job.