
Jigs, Templates and Doo-hickeys
***This post focuses on heavily modifying the power brake vacuum booster. DO NOT ATTEMPT ANY OF THESE MODIFICATIONS. This is to be read for entertainment only. Tampering with the factory structure could lead to brake failure and can endanger your life and those around you.***
This booster, even without using the Boss wedge, would not bolt up to the Mustang firewall. I don’t know why I even mention this. It just came to me.
The Boss wedge uses the same bolt pattern as that of a stock Mustang booster. It’s an odd pattern.

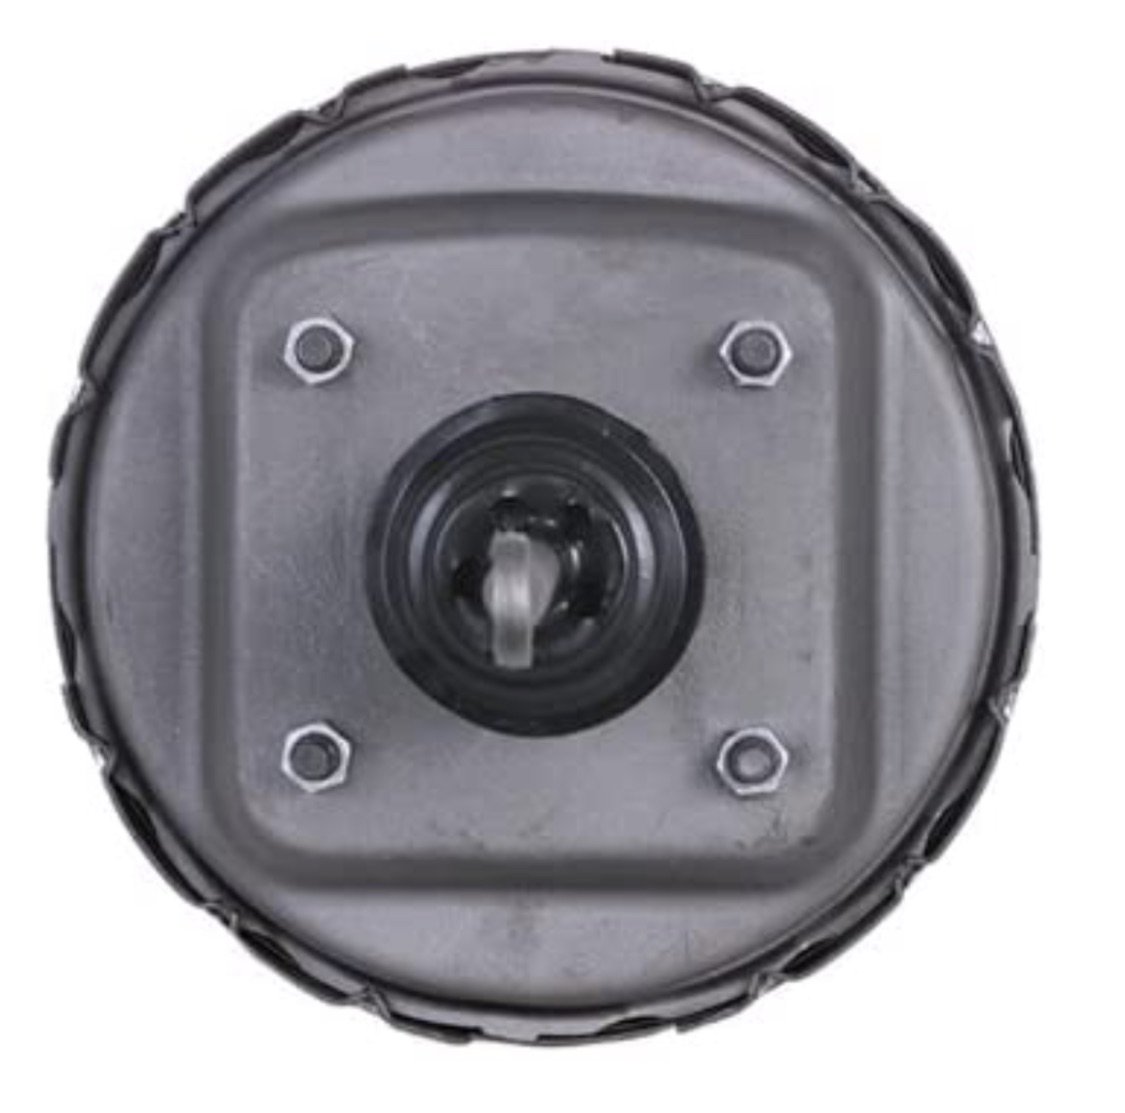
The 54-73512 has a 4 bolt pattern in a square configuration.
The Boss wedge uses a 4 bolt diamond pattern to mount the booster and the bolt spread is smaller.

Right there is what has to be done to the brake booster.
With the booster case separated, I have the back half on the bench and we’re having a starring match. I asked it what is the best way to move its existing studs into the pattern that will work with the wedge.
I’m waiting for an answer.
I decide, not the booster shell, that I will make a jig; yes, a jig, patterned after the Boss 9 wedge/adapter. The booster will bolt to the wedge after all, so may as well.
I’m making this stuff up as I go along so, at the time, making a jig instead of using the actual wedge seemed like the wiser thing to do. That damn wedge was expensive.
I have some aluminum plate left over from making pulley spacers. I cut a section that is a little larger than the area of the brake booster mounting holes as they’re presented on the wedge adapter. I wanted the holes to align with the corners of the jig plate but I screwed something up and had to relocate them slightly off of these corners.
I start the jig by scribing a line from corner to corner to form an “X” in the center of the plate, hopefully dead center.

The center gets drilled and tapped.
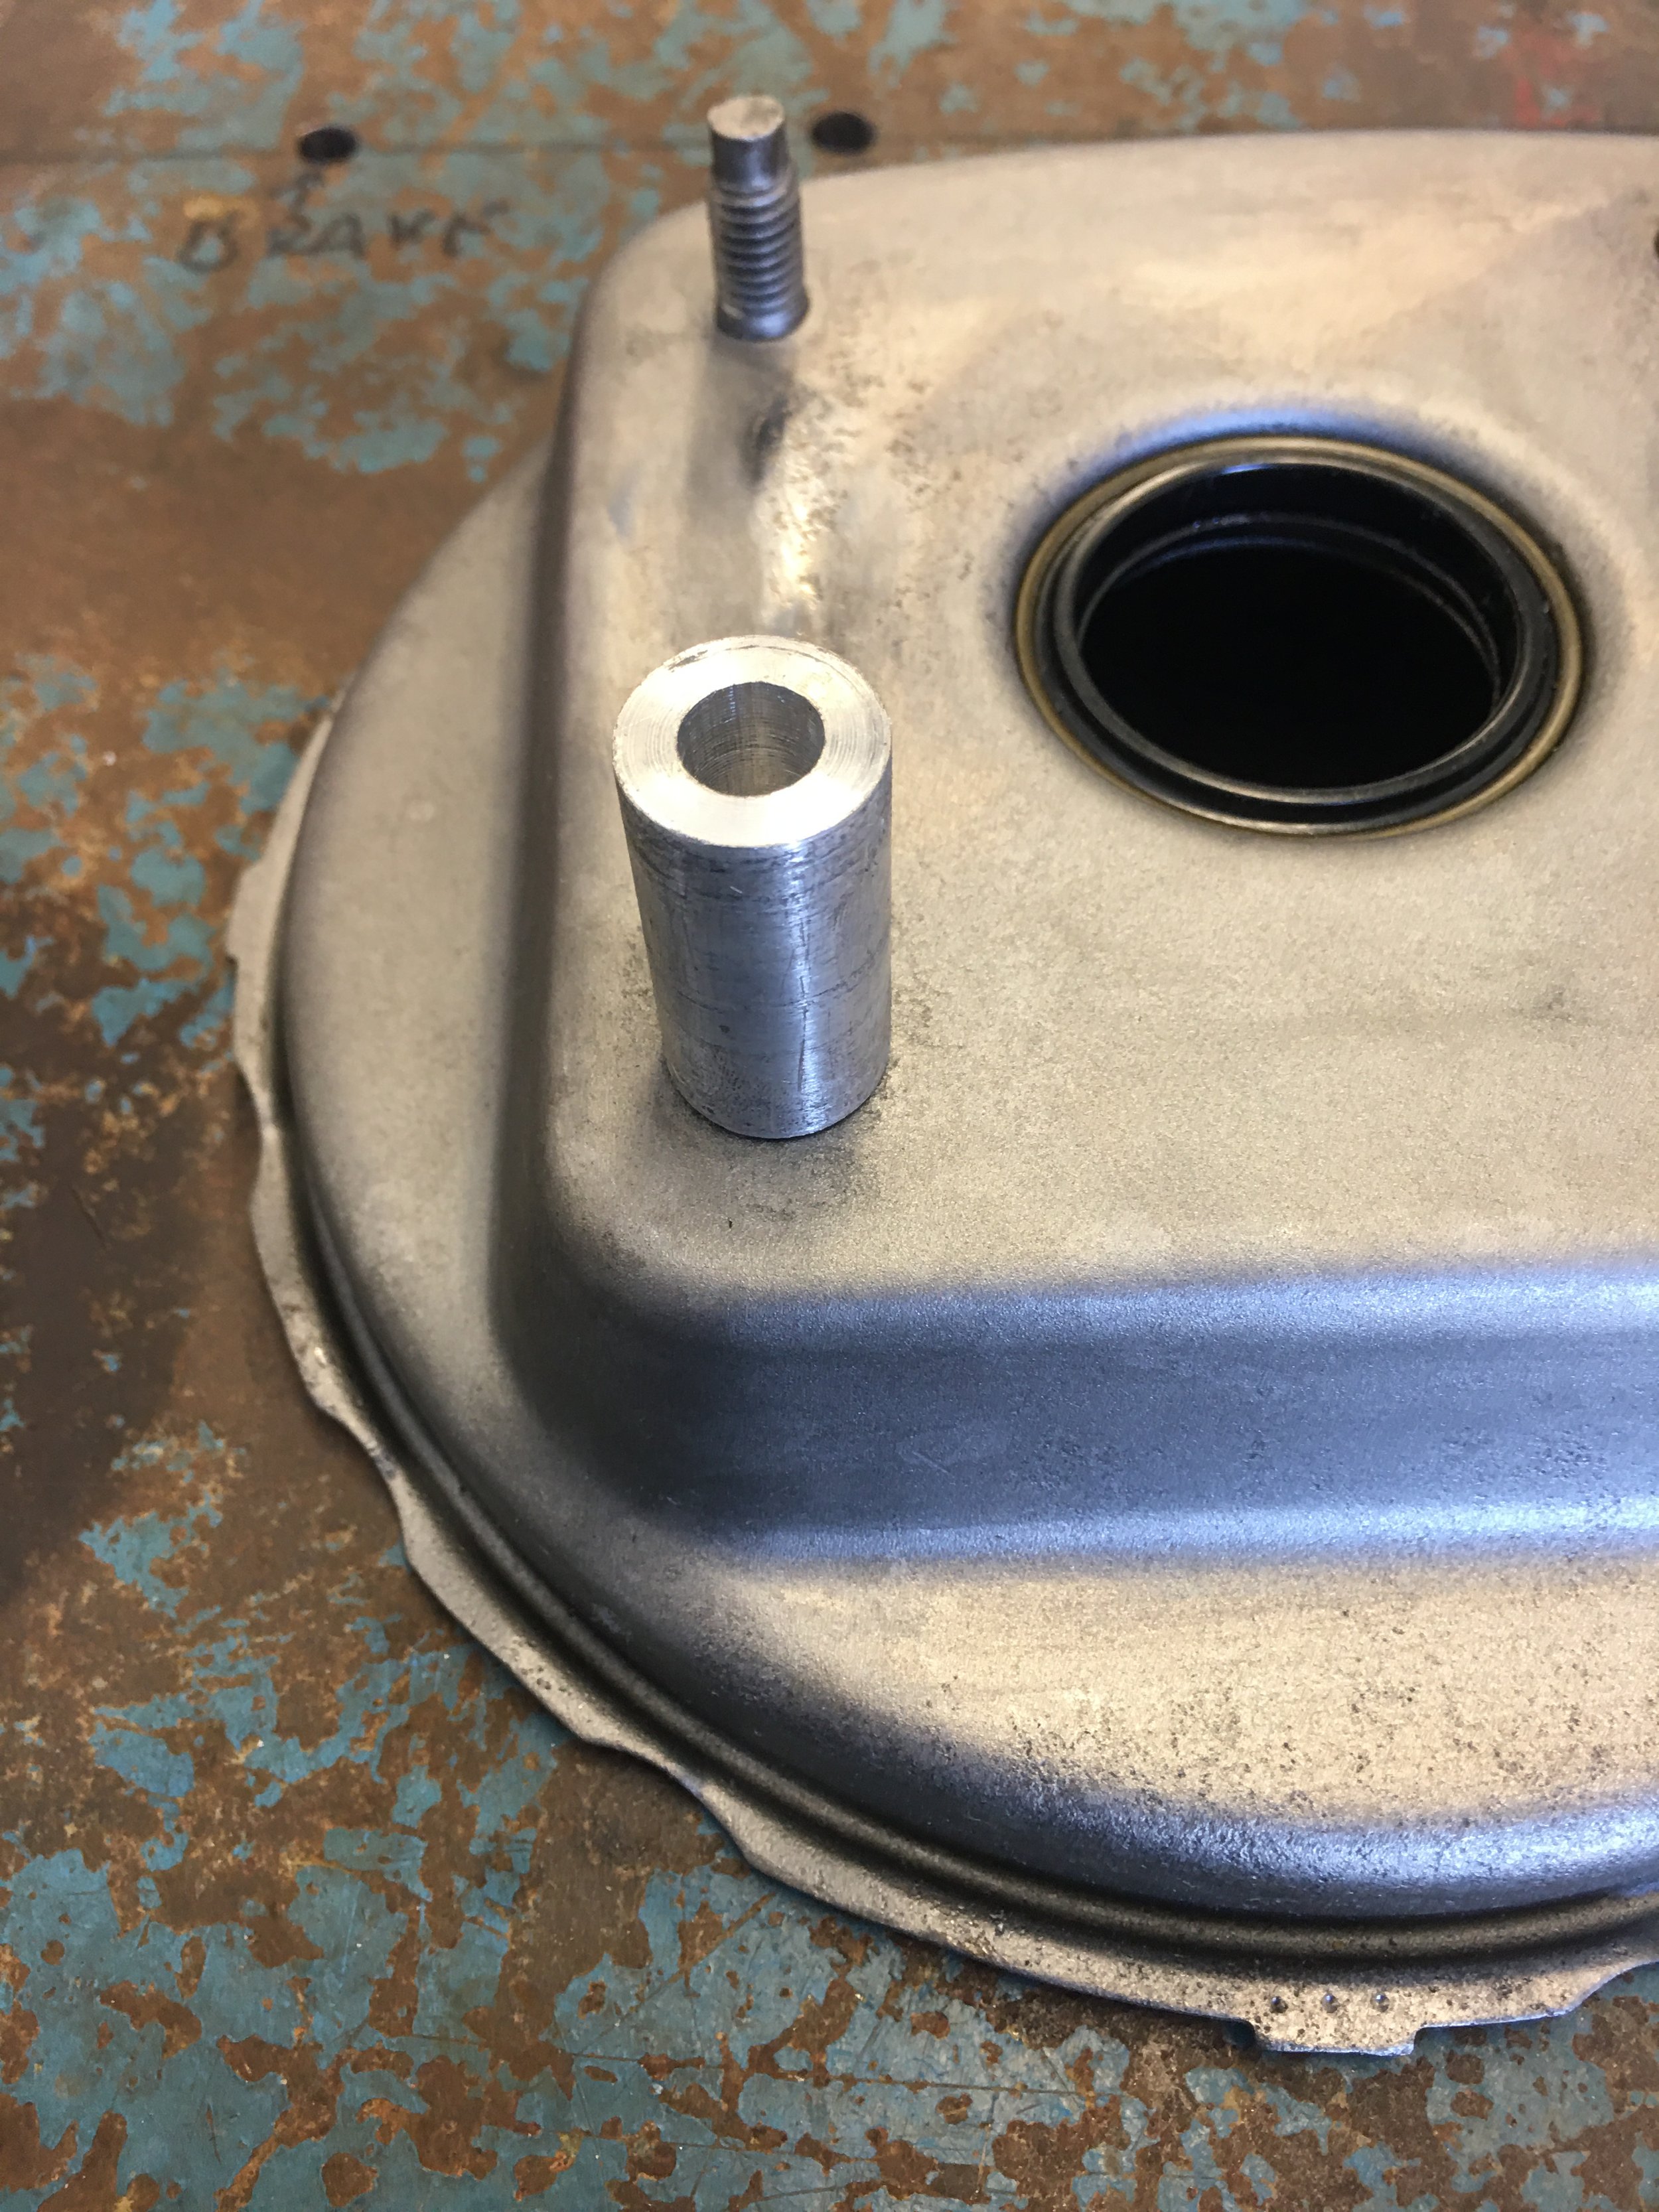
I search for and find a piece of thick walled pipe that comes closest in size to the access hole in the center of the wedge adapter. The pipe is a hair over too large but that’s fine. A 6 inch piece is cut off of the pipe and a thick washer almost the same diameter is welded to one end of the 6 inch piece of pipe and the opening in the washer welded shut and then ground flat.
The piece of pipe is chucked up in the lathe and the closed end of the pipe is turned down to clean up the weld bead and to reduce it’s diameter just enough to fit through the wedge adapter. I use the chuck in the end stock of the lathe to drill a hole though the center of the sealed end of the pipe.

This pipe is the arbor that will center the wedge adapter onto the aluminum plate. The aluminum plate is rotated until the scribe lines dissect the center of the booster mounting holes of the wedge and everything is clamped together.
A transfer punch is used to mark the aluminum plate through the wedge and then a 1/4” drill bit makes a hole through all four corners. I’m using the wedge as a rough guide.


I repeat the procedure a little later when I find a mistake in the placement of the holes. Instead of using another piece of stock, the plate is rotated just enough so the new holes do not cut into the old ones and instead of 1/4”, the holes will be 3/8”
From using the wedge as the template for the jig, the jig can now be used as the template for the relocation of the studs on the back of the booster.
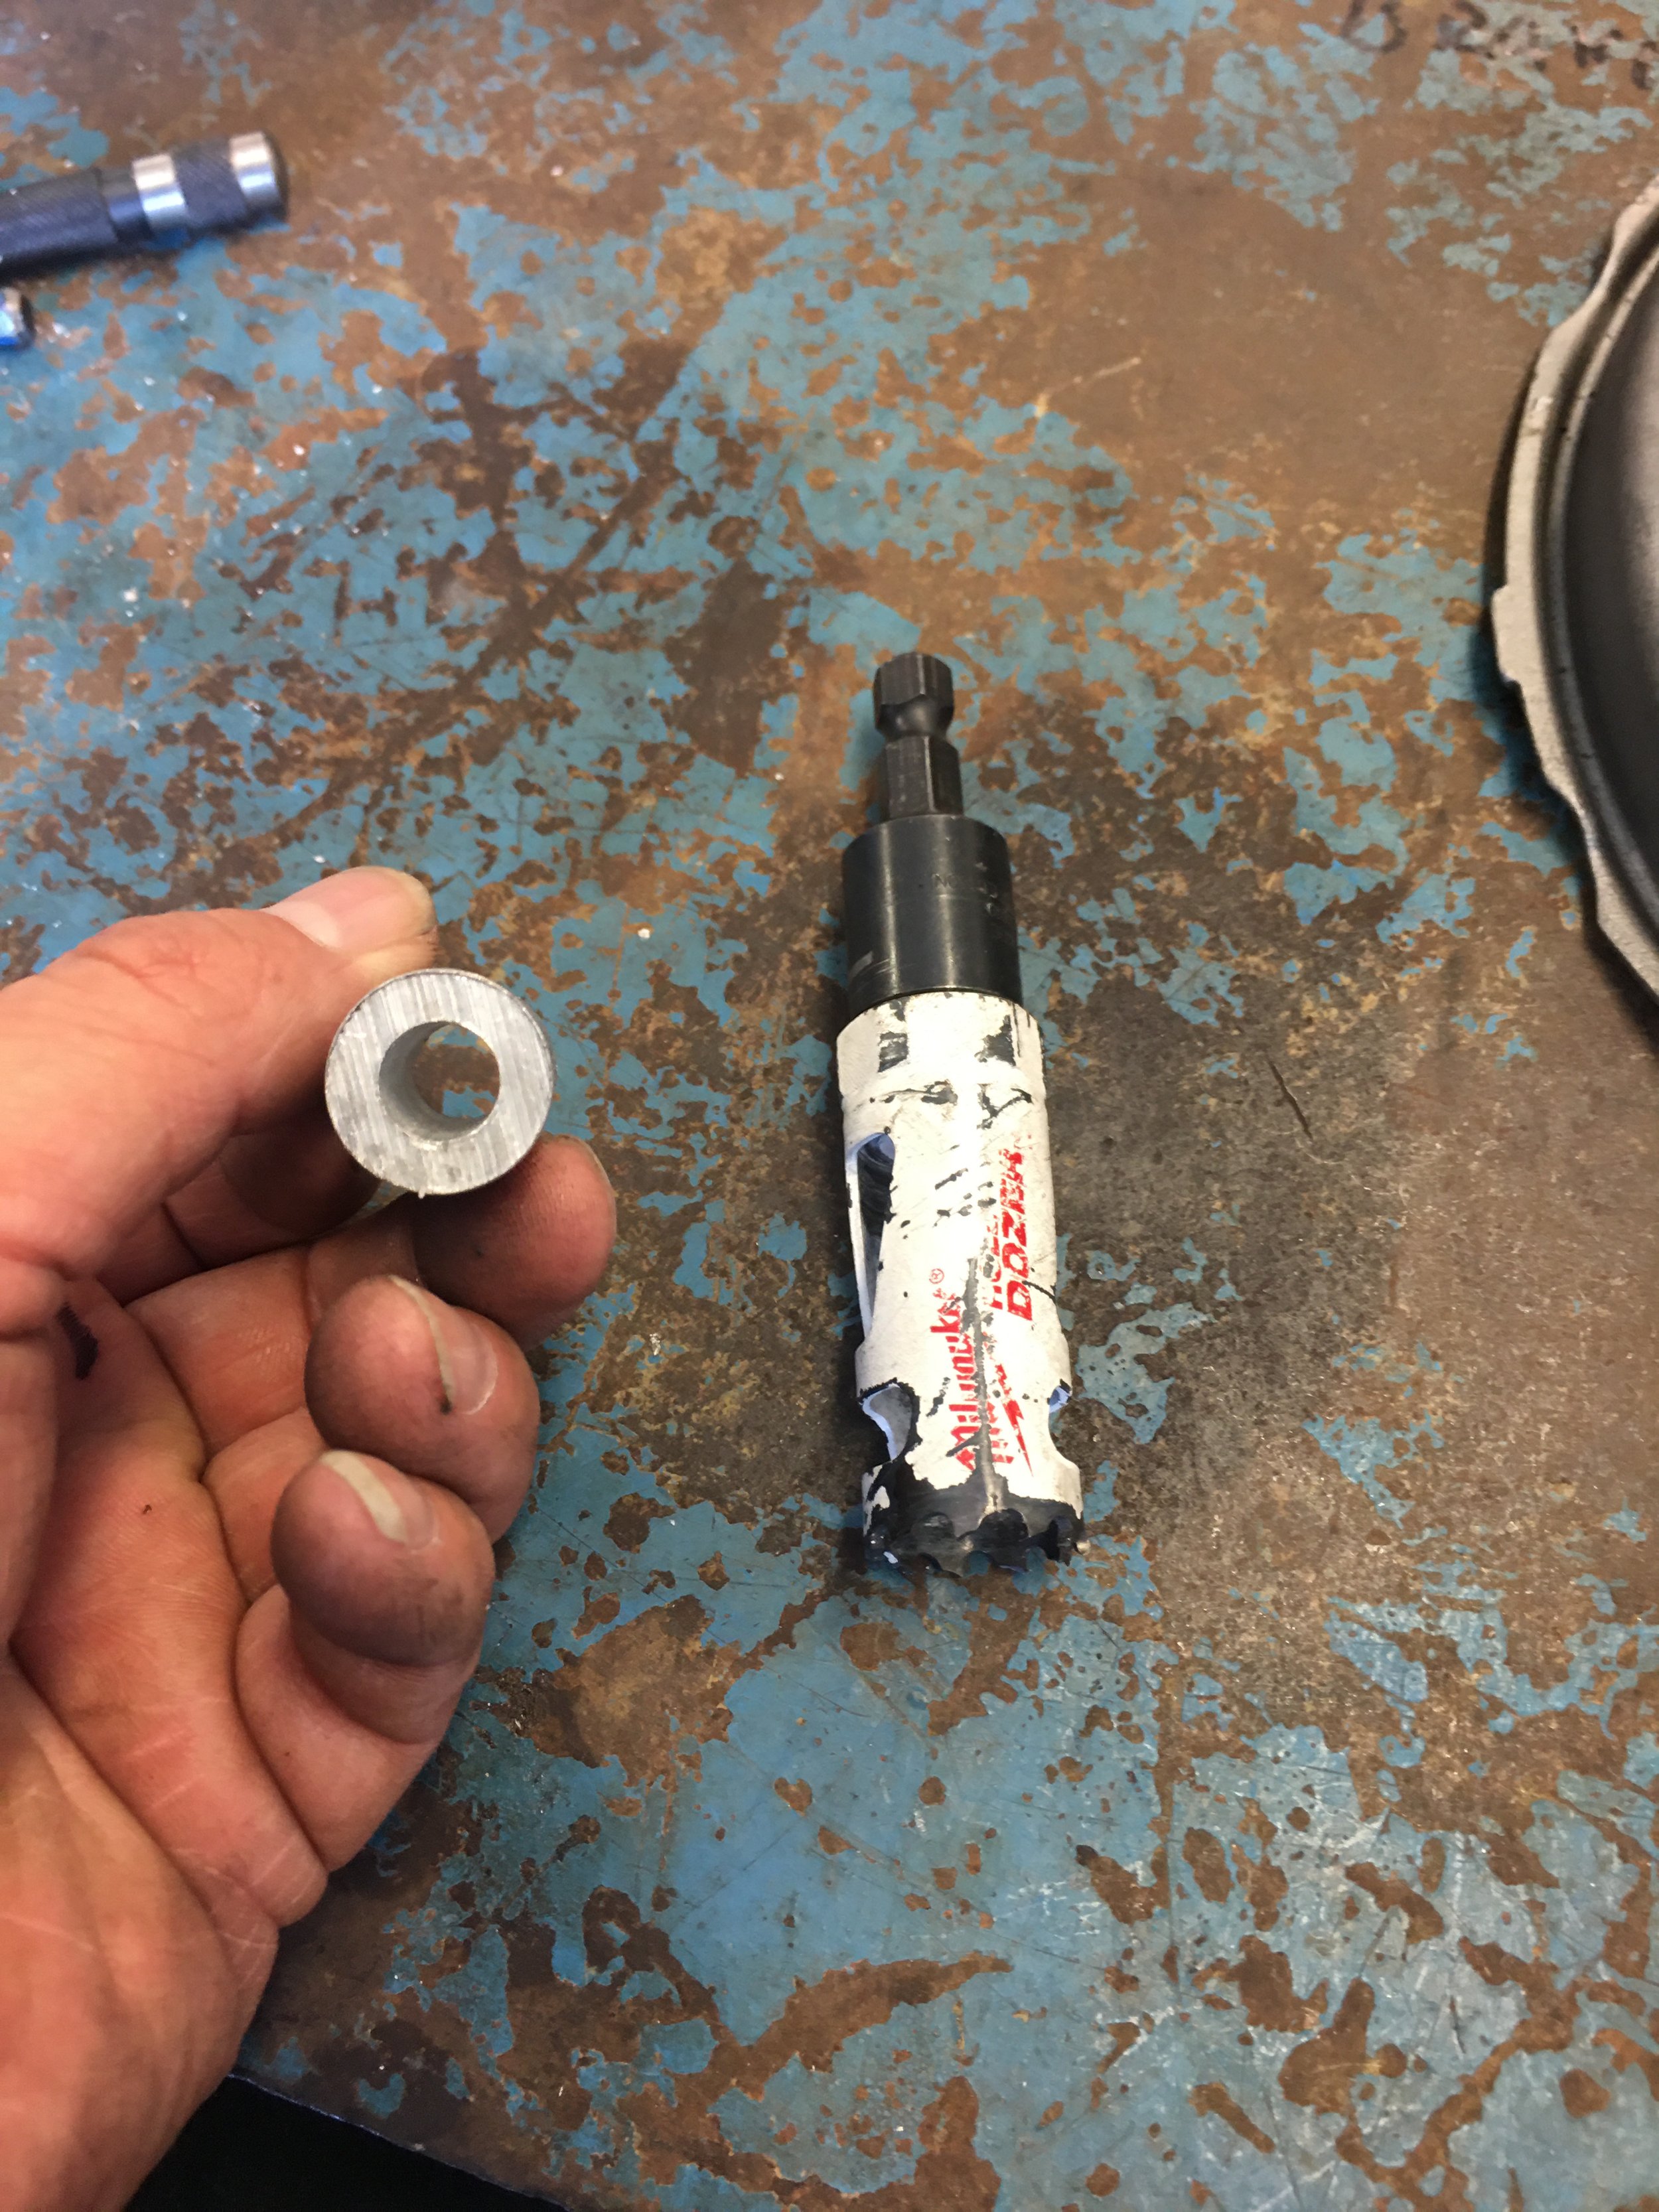
To stand a better chance of keeping everything lined up and centered, I use a hole saw as more of a cutting die than a hole saw.

I go through my hole saw kit to find one that will create a plug that will fit snugly through the center of the brake booster back side. The pilot drill of the hole saw creates a hole that accepts the same size bolt that screws into the center of the aluminum jig. It was planned that way. Really.

Am I done yet? Why am I not done yet? One more thing.
I want to reuse the studs. I’ll have to cut them out of the booster shell, fill the holes and then relocate them.
The studs have a fairly large head that can be seen on the inside of the booster shell. They’re maybe 7/8” in diameter. If I use a 1” hole saw, that should clear the stud head. The tough part will be keeping the stud centered in the hole.

I have an idea.
Using the 1” hole saw, I use it to drill a hole through a piece of 3/4” aluminum plate, yes, the same stuff I used for the jig. I take the plug from the hole saw and chuck it into the lathe so the pilot hole can be enlarged to 3/8”, the same diameter as the studs. This plug will the the guide for hole saw when I cut the stud out.


I think this covers the jigs and guides I’ll need to modify the booster shell.