
Installing the Apron
After cleaning up the mating surfaces, especially where the spot welds were cut out. Grinding, lots of grinding. Did you know the center of the spot weld stays after the panel is removed? Thank God for angle grinders and flapper discs.
Not knowing what to expect, the first panel, the right rear panel, fit up in the vacated spot perfectly.
To prep for install, the paint was ground away from the edges and the lip that fastens to the firewall/cowl can’t be spot welded easily so I put some holes in it for some rosette welds.


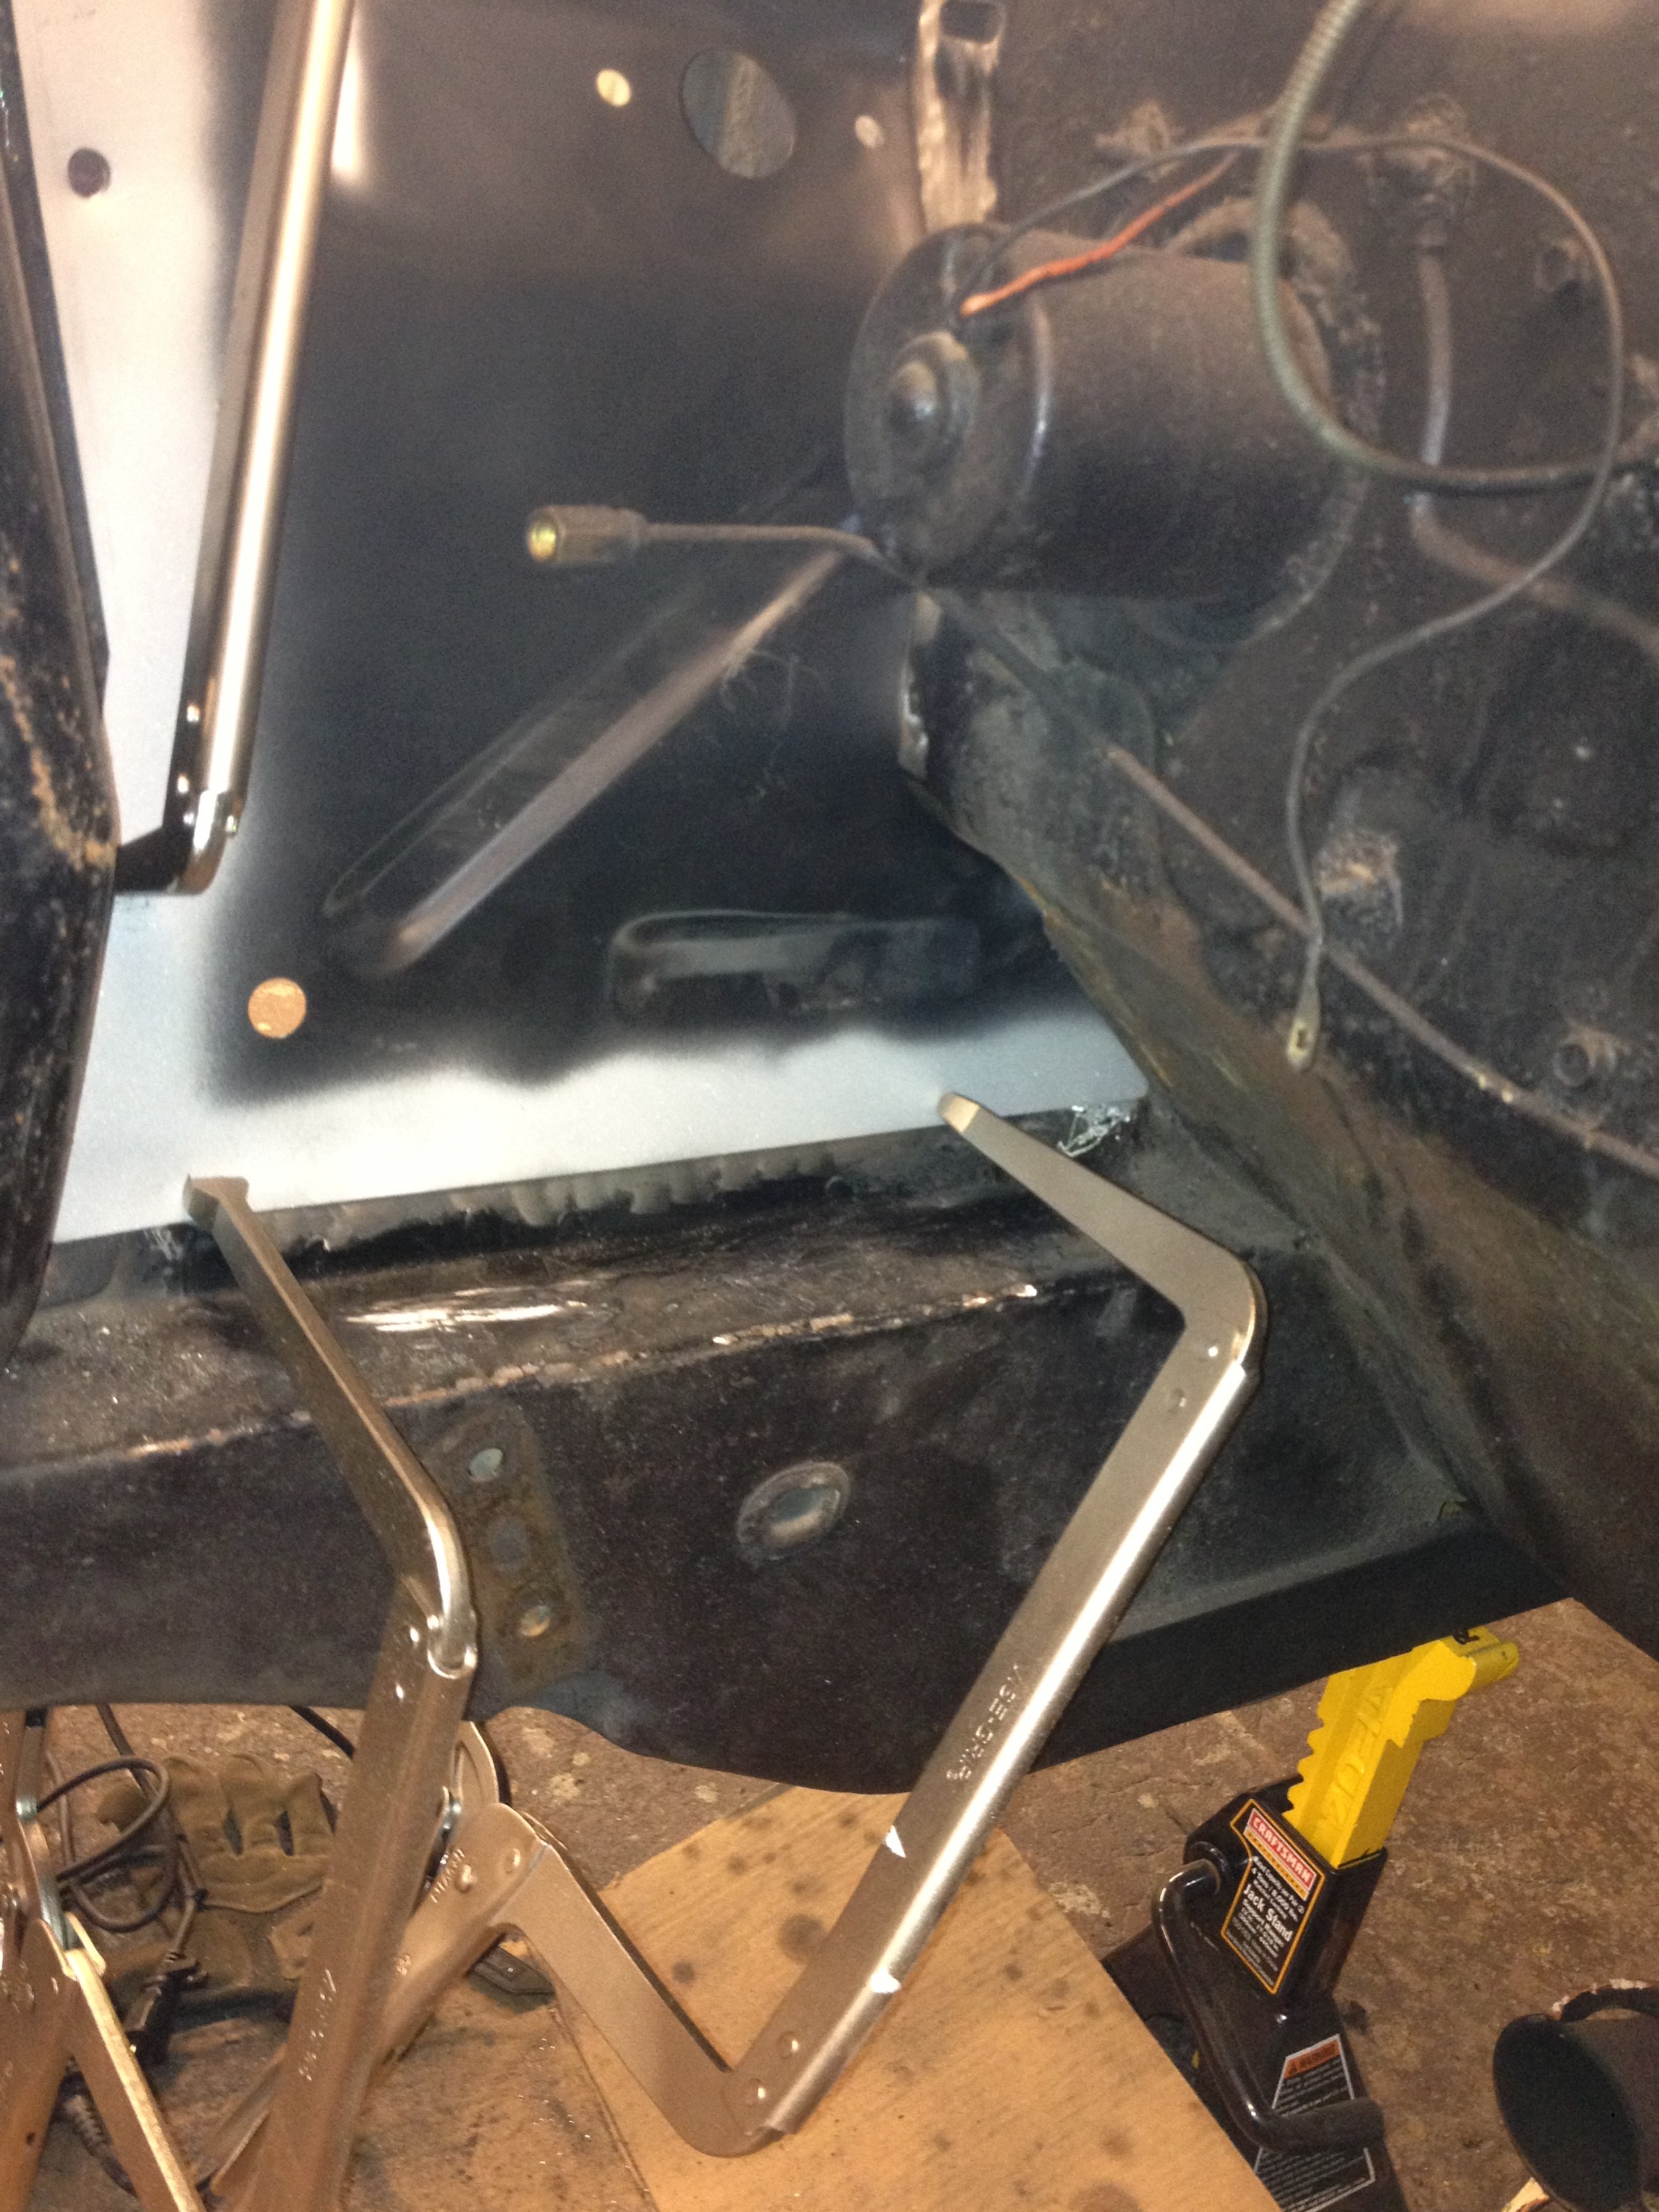
I invested in a few clamps to help me hold the panel in place and to make sure EVERYTHING is lining up
I bought a little makeshift tool from Eastwood. It’s an adapter to quasi convert a Mig welder into a spot welder. The kit consists of a modified needle nose vice-grip and a nozzle for the end of the Mig welder gun. The nozzle has been made with little stand-offs.
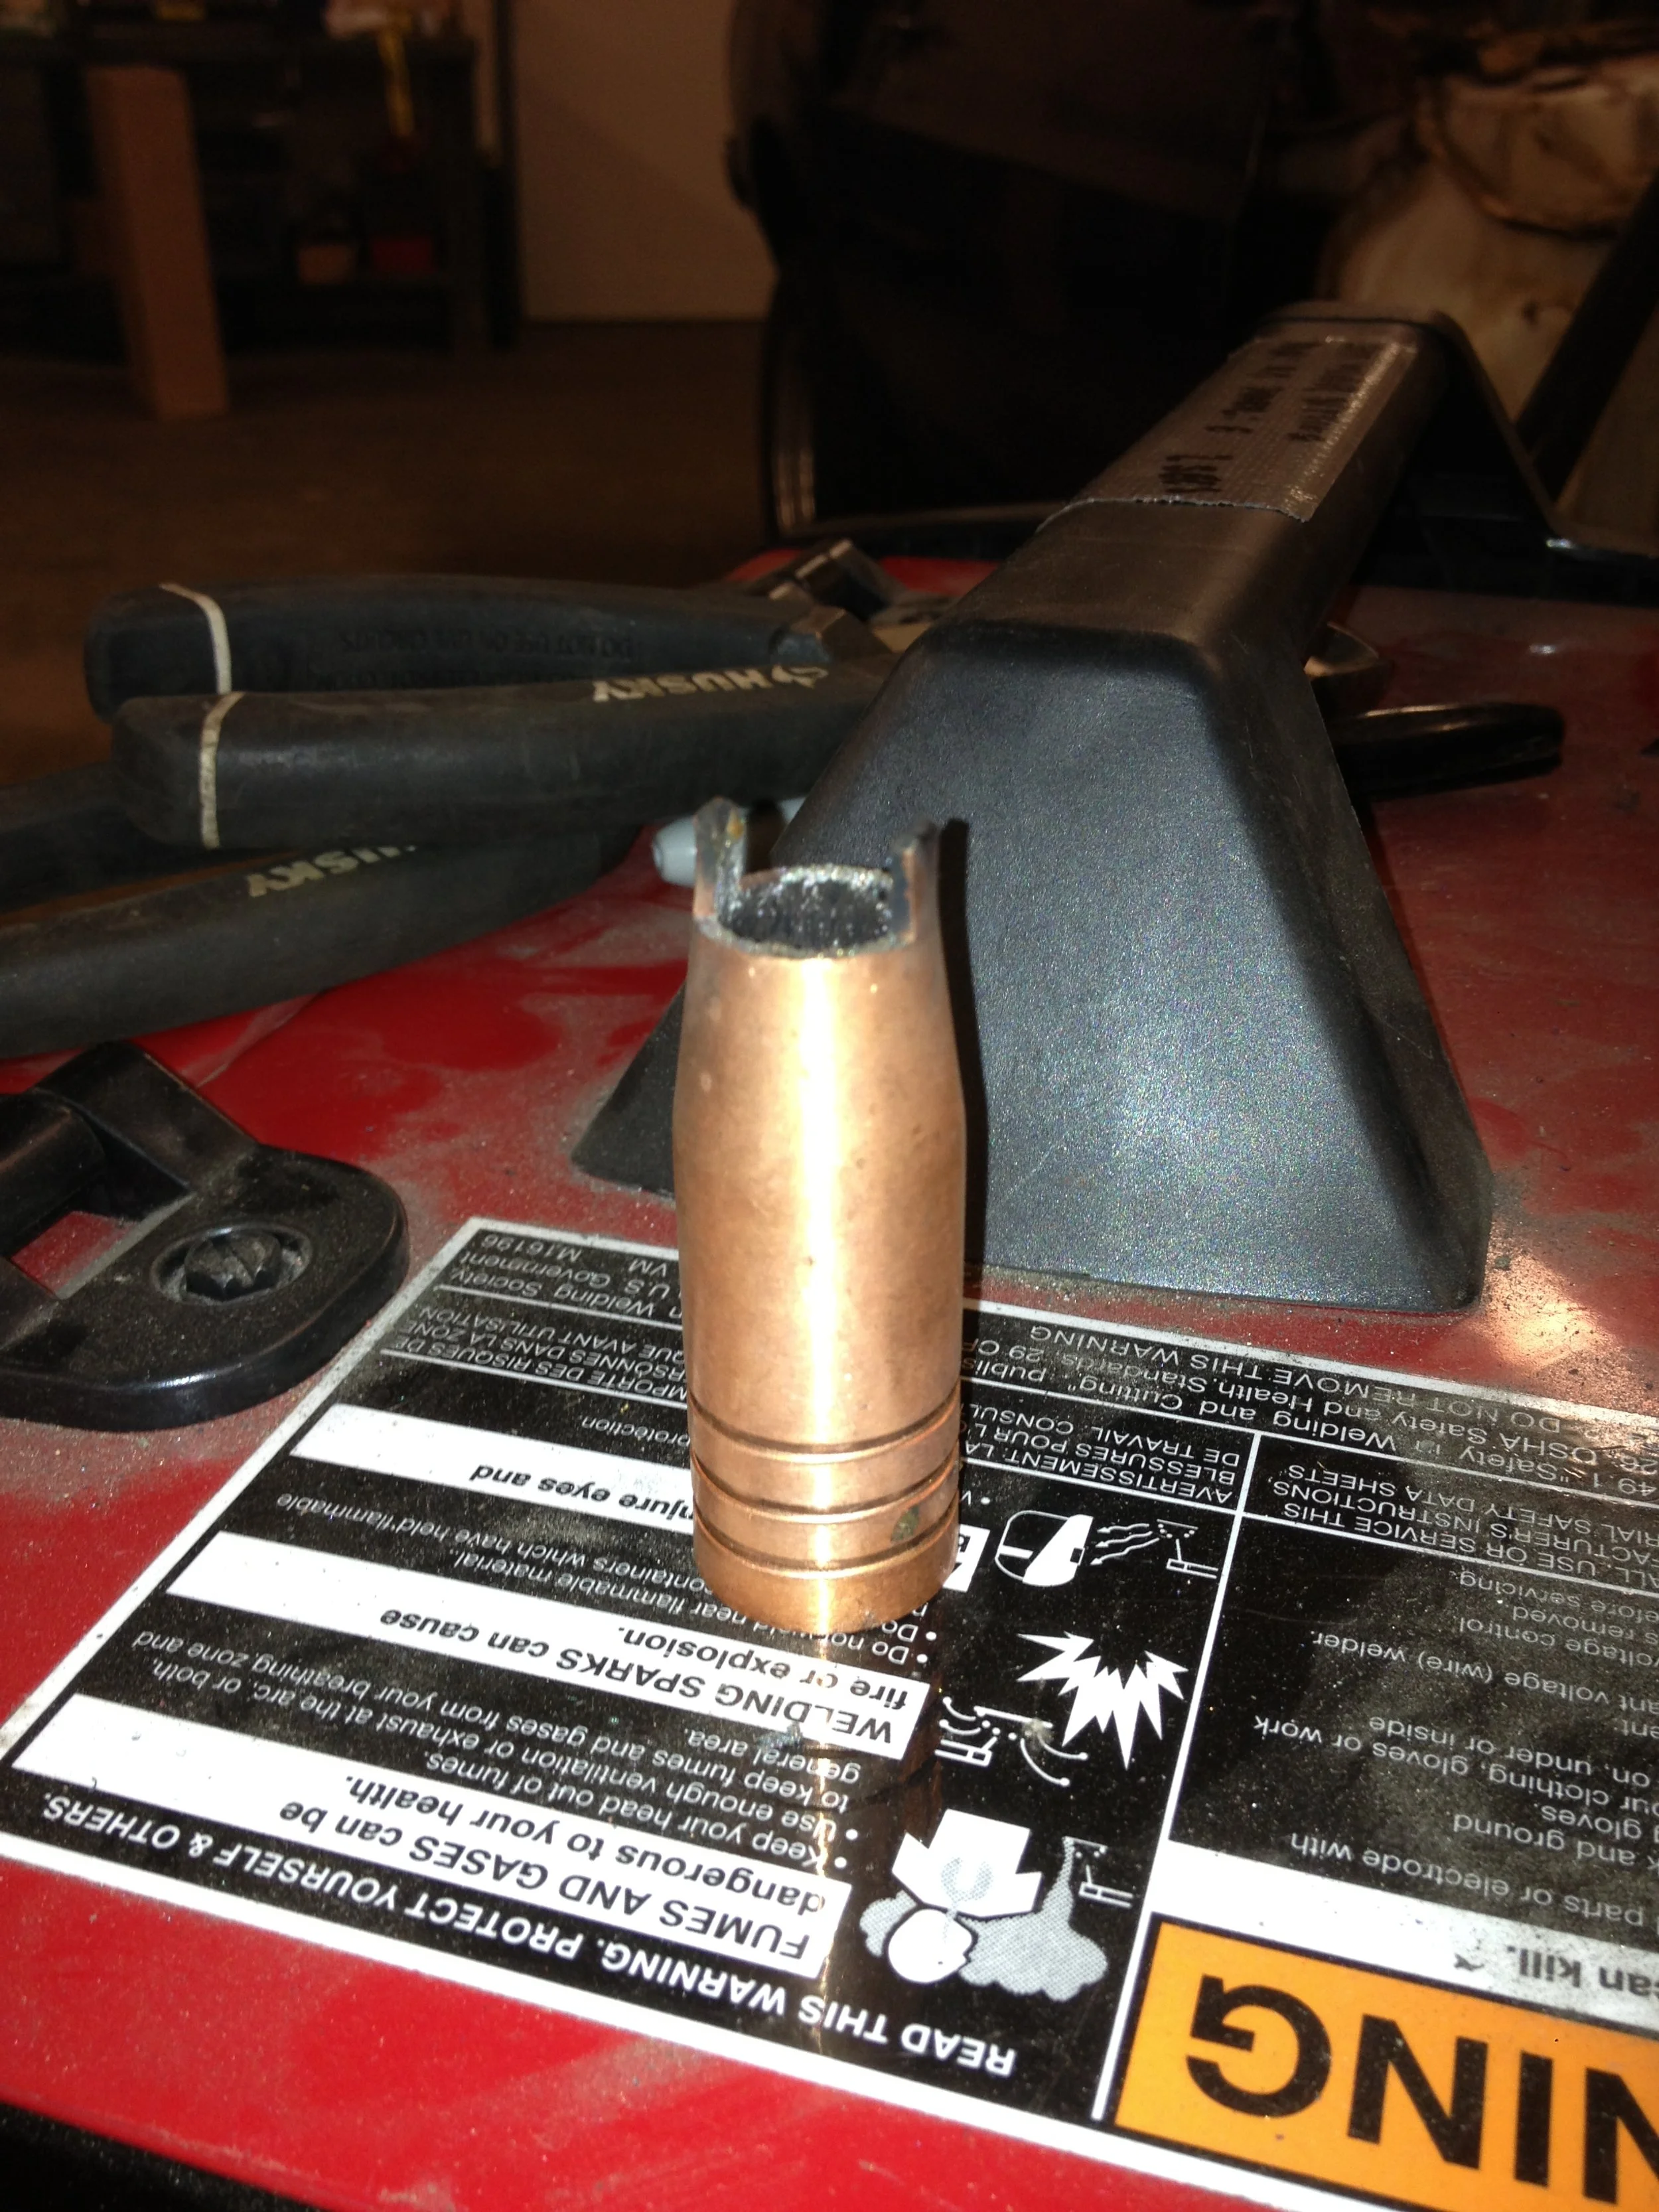


Picture is from the Eastwood website.
It’s because of this spot welder adapter that I ended up with so many different length clamps. Where the little needle nose vice-grip can’t fit, it would take using two deep throated clamps holding the two pieces of metal together and placed very close to each other to allow as tight a pinch as possible to ensure a good solid spot weld.
Sorry, my hands were full and I couldn’t take any pictures of the spot welder in action


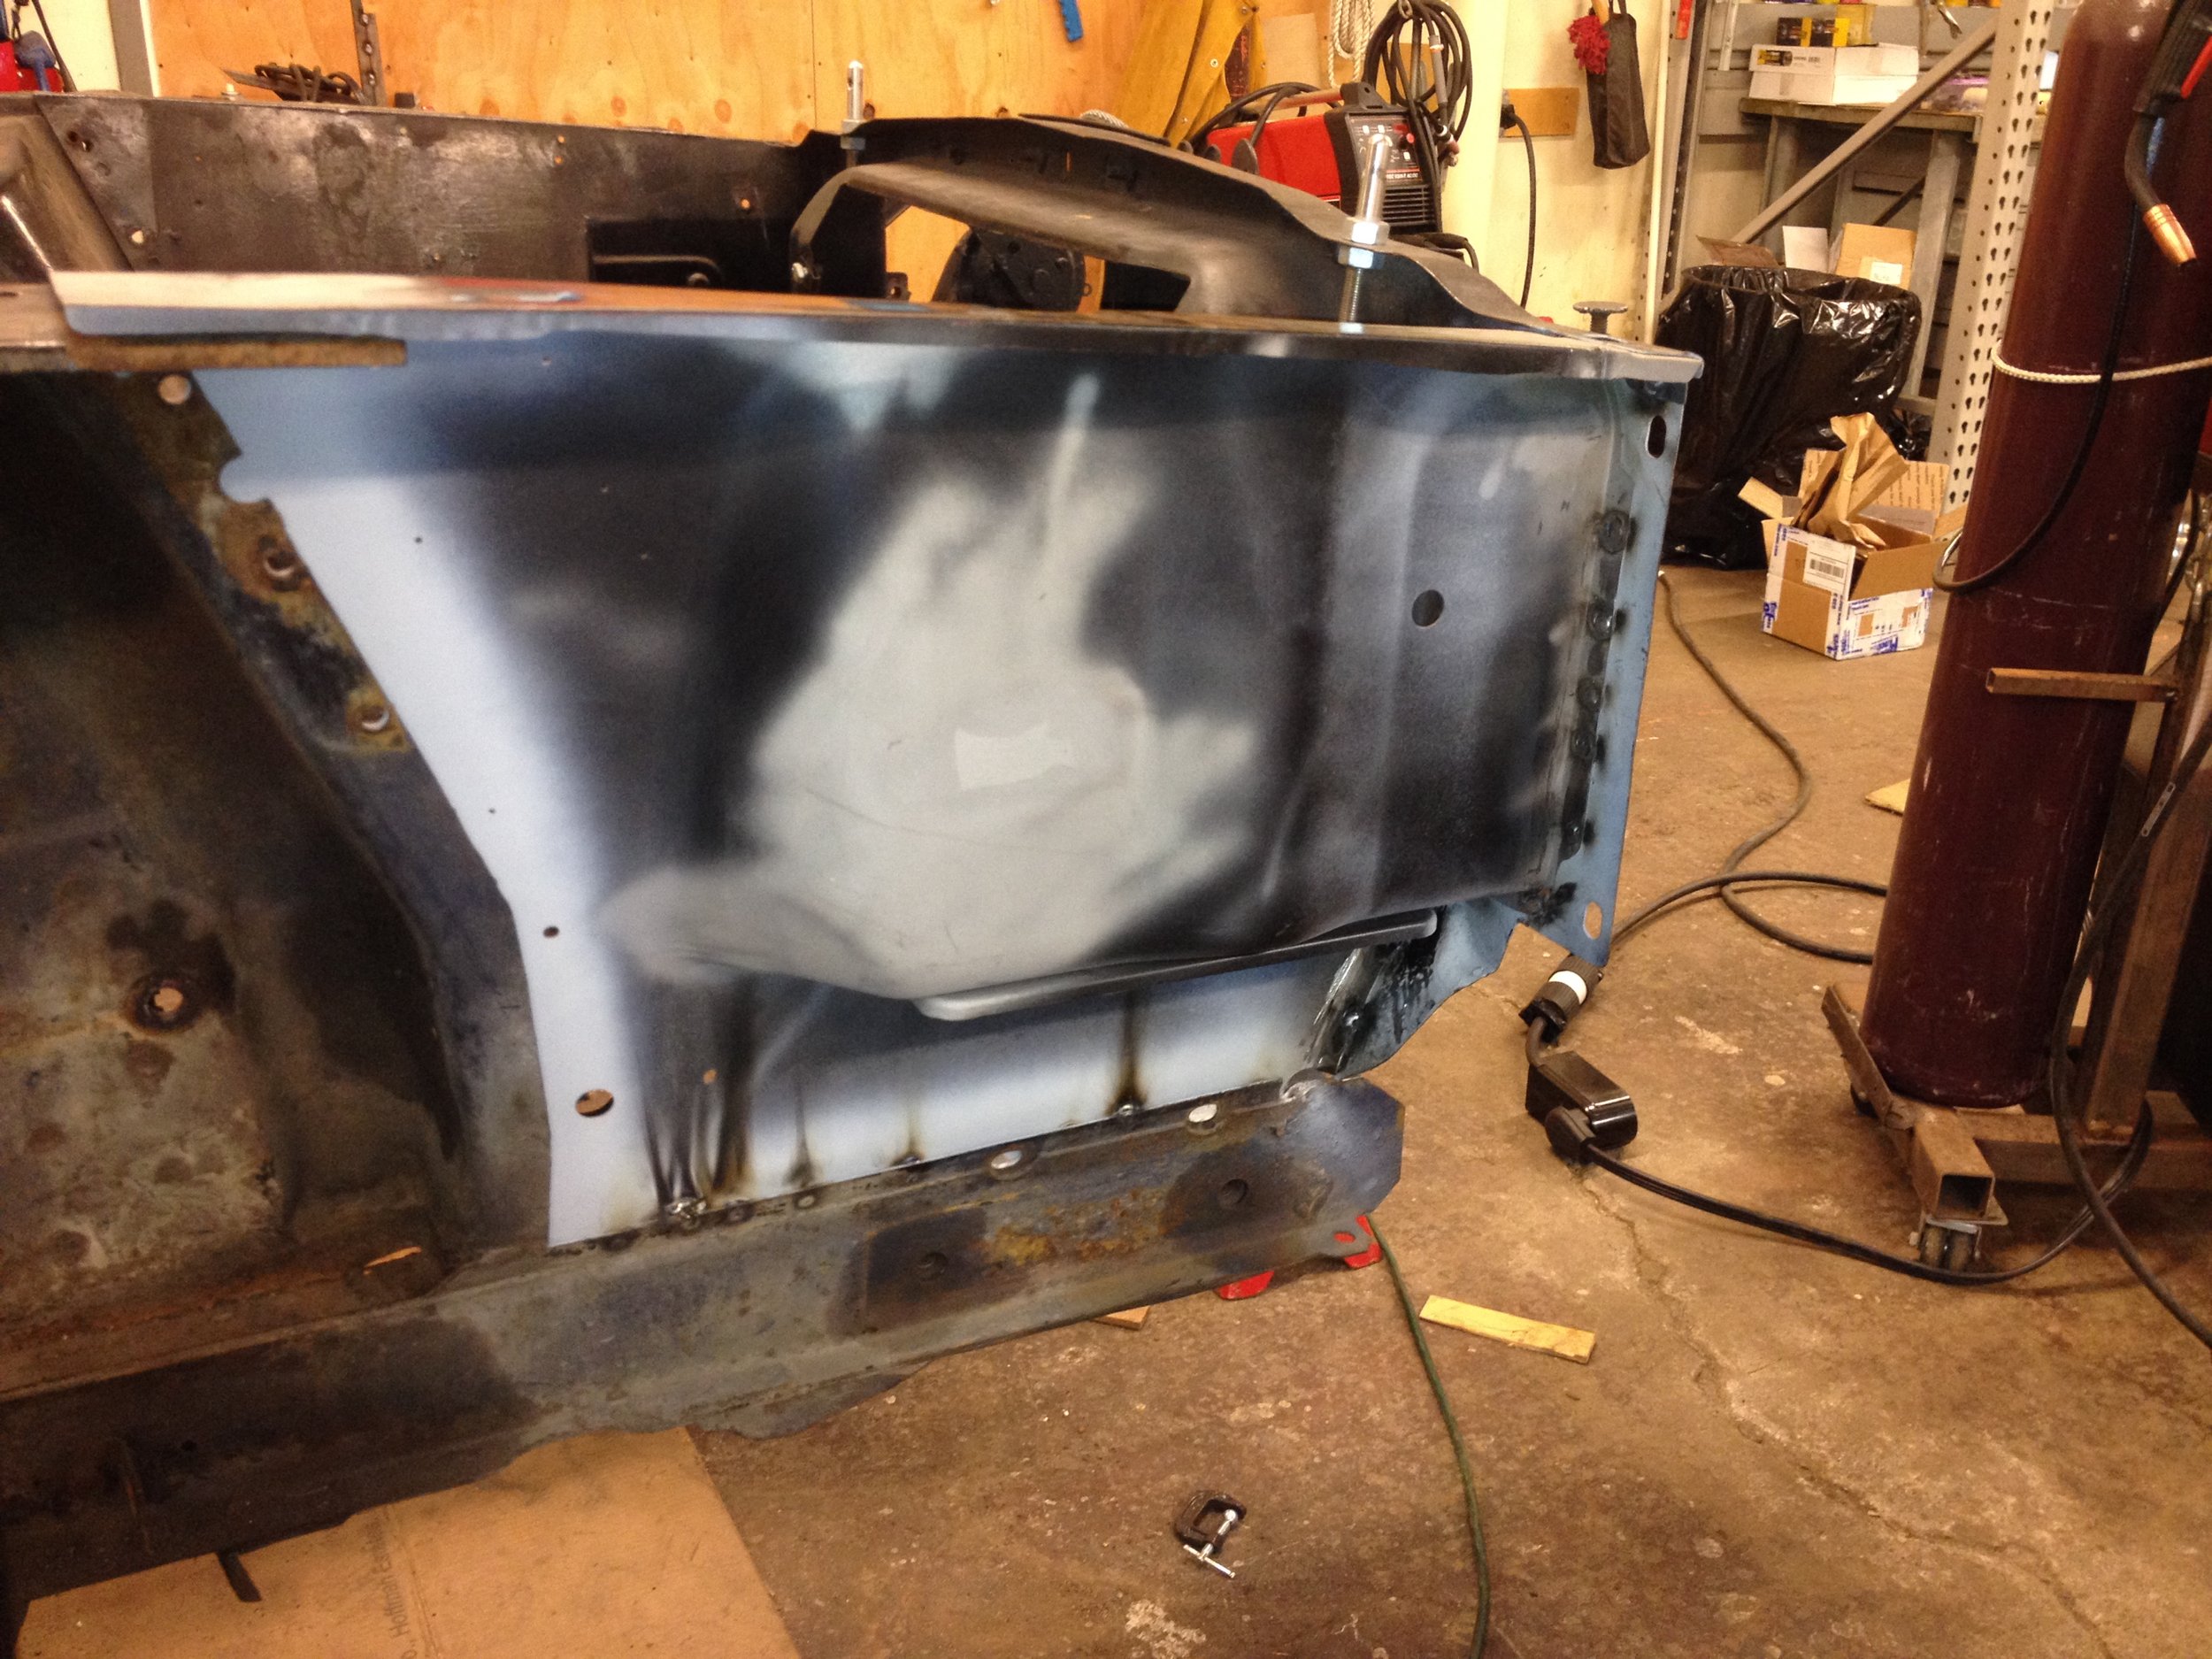
The apron was fitted into place and held in firmly with clamps. I put the Eastwood spot welder onto the Mig welder, took a deep breath, said a prayer and melted metal together but not the outgoing shock tower.
The results aren’t spot weldy as I was hoping but over-all the welds look nice and uniform. The spot welds look kind of like a mosquito bite, little welts that will have to be ground smooth but that’s for a later time. For now, the apron looks good which means I can move on to the next panel.
The right front apron went in without issue, mostly. The radiator support was a little tweaked when removing the old Apron. I got lazy and didn’t straighten out the sheet metal as well as I could have. I took a few minutes to correct my sloth. With the condition of the radiator support improved, then the right front apron dropped in and welded home.


I should move on to that left front apron but I can’t wait, I have to see how this new shock tower looks.